
How to Make Perfect Gluten-Free Bread with Bread Machine
Making gluten-free bread in a bread machine sounds easy. Just add the ingredients, press a button, and wait, right? But if you’ve ever tried it, you know the truth: gluten-free bread is tricky. It can come out dense, gummy, or dry. Sometimes, the loaf sinks in the middle or feels like a brick. If you want to make soft, tasty, and reliable gluten-free bread at home, using your bread machine, this guide is for you.
You’ll learn how to choose the best ingredients, use your bread machine’s settings, and avoid common mistakes. You’ll see which gluten-free bread mixes and recipes actually work and why some never do. Plus, you’ll get answers to big gluten-free bread questions, so you’re not left guessing.
Whether you’re baking for celiac disease, gluten sensitivity, or a better lifestyle, you’ll soon be making bread you love to eat every day.
Why Gluten-free Bread Is Different
Most regular bread uses wheat flour. Wheat has gluten, a special protein that helps bread rise and gives it a chewy texture. Gluten-free bread can’t use wheat, barley, or rye. Instead, you use flours like rice, sorghum, millet, or buckwheat. These don’t have gluten, so the dough behaves differently in every way.
Without gluten, bread can:
- Collapse during baking
- Feel dense or dry
- Taste bland or “off”
- Have a short shelf life
Bread machines are designed for wheat bread, so you need to adjust your methods. Success with gluten-free bread means understanding your ingredients and machine. Once you know the secrets, you can bake bread that’s moist, light, and full of flavor.
What Makes A Great Gluten-free Bread For Bread Machines
Not every gluten-free bread recipe or mix works in a bread machine. To get a loaf that rises, tastes good, and slices well, focus on these key points:
- Balanced Flour Mix: Use at least two types of gluten-free flour (like rice and sorghum) with a starch (like tapioca or potato starch).
- Binders: Add something to replace gluten’s structure. Common choices are xanthan gum, guar gum, or psyllium husk.
- Moisture: Gluten-free dough needs more water or milk than wheat dough. It should look like thick cake batter, not a ball.
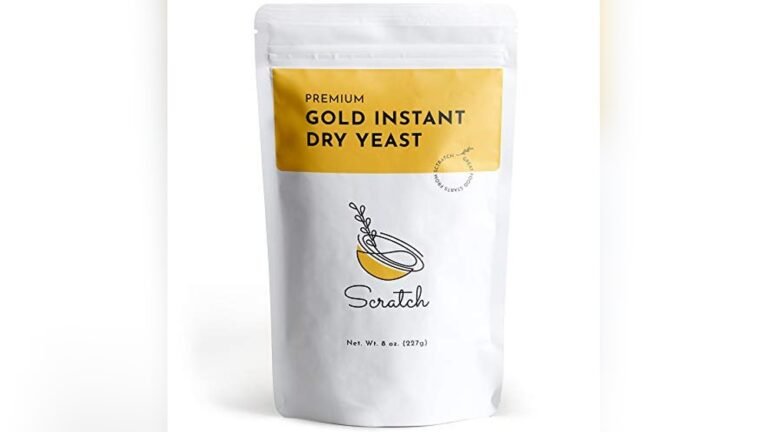
- Correct Yeast: Use instant or bread machine yeast. Gluten-free dough rises faster, so you don’t want slow yeast.
- Fat and Eggs: These add softness and help the bread stay moist.
- Acid: A little vinegar or lemon juice can help the bread rise and improve flavor.
A good gluten-free bread for your bread machine should have a soft crumb, golden crust, and stay fresh for a day or two. It should slice without crumbling and taste good plain or toasted.

Credit: www.glutenfreealchemist.com
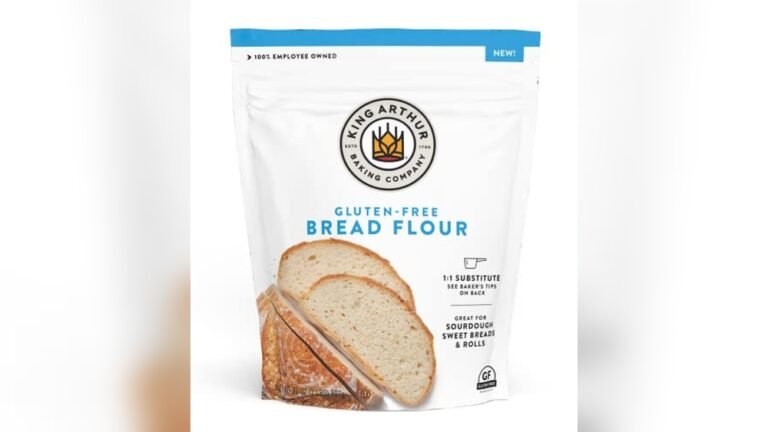
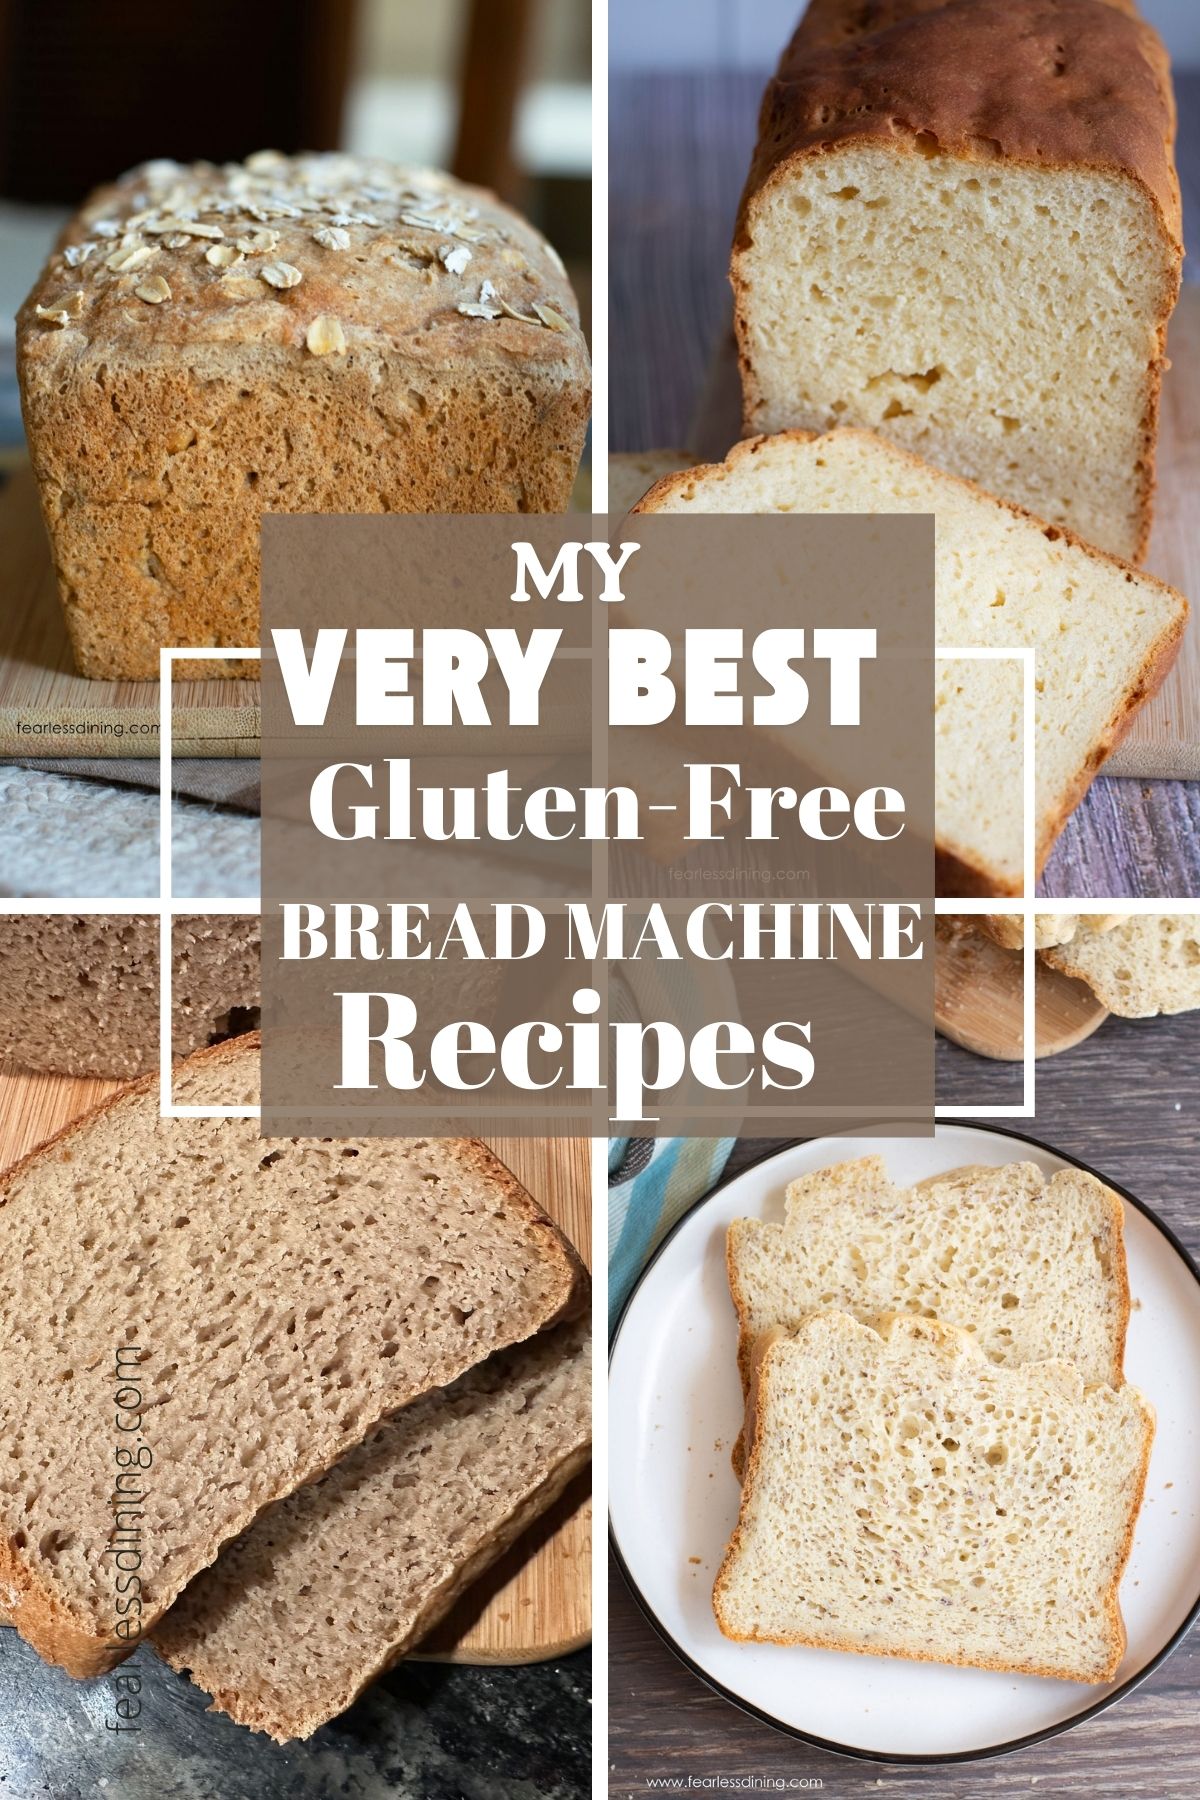
Top Gluten-free Bread Machine Mixes
If you want a shortcut, start with a commercial gluten-free bread mix. These are pre-measured blends of flour, starch, binder, and sometimes yeast. They save time and reduce the risk of mixing errors. Here are some top choices, with a comparison of cost, availability, and taste:
| Brand | Approx. Price/Loaf | Main Flours | Texture | Ease of Use |
|---|---|---|---|---|
| King Arthur Gluten Free Bread Mix | $5.50 | Rice, Tapioca | Soft, light | Very easy |
| Bobs Red Mill Gluten Free Homemade Wonderful Bread Mix | $5.20 | Garbanzo, Sorghum | Moist, hearty | Easy |
| Pamela’s Products Amazing Bread Mix | $6.00 | Brown Rice, Sorghum | Soft, springy | Easy |
| Simple Mills Artisan Bread Mix | $7.00 | Almond, Arrowroot | Nutty, dense | Moderate |
Most mixes call for eggs, oil, and water. Some need yeast; others include it. Always check the label for certified gluten-free status, especially if you have celiac disease.
Pro tip: Not all mixes work in every bread machine. Some need a “gluten-free” cycle; others work on “quick” or “basic” settings. Read both your bread machine and mix instructions carefully.
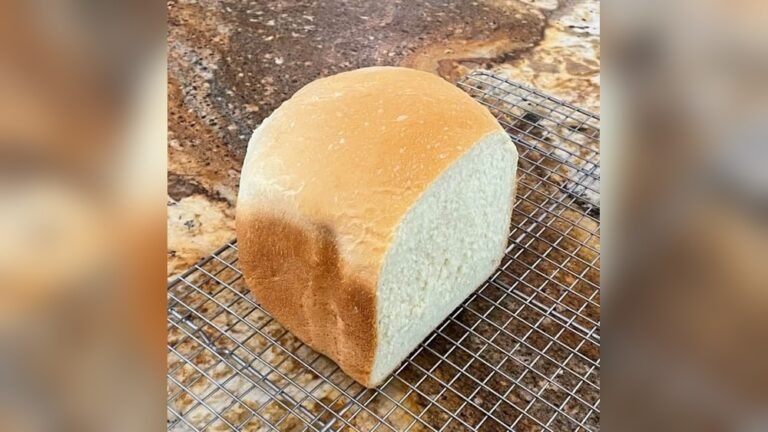
Best Homemade Gluten-free Bread Machine Recipe
If you want to control every ingredient, making bread from scratch is best. Here’s a reliable, tested recipe that works in most bread machines. It produces a 2-pound loaf with a soft texture and mild flavor.
Ingredients
- 1 1/2 cups warm water (110°F/43°C)
- 1/4 cup neutral oil (canola, sunflower, or light olive)
- 2 large eggs (room temperature)
- 1 tablespoon apple cider vinegar
- 3 cups gluten-free flour blend (see blend recipe below)
- 1/4 cup dry milk powder (or coconut milk powder for dairy-free)
- 1 1/2 teaspoons salt
- 1/4 cup sugar or honey
- 1 tablespoon xanthan gum
- 2 teaspoons instant yeast
Homemade Gluten-free Flour Blend
Mix these together and store airtight:
- 2 cups white rice flour
- 2/3 cup potato starch
- 1/3 cup tapioca flour
This blend is neutral, works in most bread machines, and gives good structure.
Instructions
- Add wet ingredients to the bread machine pan in order: Warm water, oil, eggs, vinegar.
- Add dry ingredients: Flour blend, milk powder, salt, sugar, xanthan gum—spread evenly over the liquid.
- Make a small well in the flour (not touching the liquid). Add the yeast to the well.
- Select the “gluten-free” cycle on your bread machine. If your machine doesn’t have this, use the “quick” or “basic” cycle (no more than 2 hours).
- Start the machine. After 5 minutes, open the lid and use a spatula to scrape down sides. Gluten-free dough doesn’t form a ball—it should look like thick cake batter.
- Let the cycle finish. Remove the bread when done and cool on a rack for at least 30 minutes.
This loaf slices well, toasts perfectly, and stays moist for 2 days. For longer storage, slice and freeze. Toast slices directly from the freezer.
Non-obvious tip: If your kitchen is cold, warm your bread pan with hot water (then dry) before adding ingredients. This helps the yeast work better and gives a higher rise.
Credit: www.fearlessdining.com
How To Adapt Any Recipe For Your Bread Machine
Maybe you found a gluten-free bread recipe online, but it’s for oven baking. You can often adapt it to your bread machine with a few tweaks:
- Reduce yeast by 25%. Machines rise faster than ovens.
- Increase liquid slightly. Bread machines lose moisture during mixing.
- Don’t use the “punch down” or second rise. Gluten-free dough does best with one rise and bake.
- Mix-ins: Add seeds, nuts, or dried fruit only after the first mixing cycle (if your machine beeps for add-ins).
Not all recipes work well in every machine. If your loaf collapses, try less yeast or a shorter cycle. If it’s dense, add 2-3 tablespoons more liquid next time.
Bread Machine Settings For Gluten-free Bread
Most newer bread machines have a gluten-free setting. This cycle has a single rise, longer mixing, and a shorter bake. If your machine doesn’t have this, use the “quick” or “cake” setting. Avoid “whole wheat” or “French” cycles—they’re too long for gluten-free dough.
Here’s a quick guide to settings:
| Machine Setting | Works for GF Bread? | Notes |
|---|---|---|
| Gluten-Free | Yes | Best choice, if available |
| Quick | Yes | Good for most GF doughs |
| Basic/White | Sometimes | Use only if cycle is under 2 hours |
| Cake | Yes | Works for batter-like recipes |
| Whole Wheat | No | Too long, can cause collapse |
Always check your bread machine’s manual for exact times. Gluten-free bread does not need a double rise.
:max_bytes(150000):strip_icc()/9441739-d6b30d0634e54a50984451b9b8c1f3d6.jpg)
Credit: www.allrecipes.com
Common Mistakes And How To Fix Them
Gluten-free bread in a bread machine fails for a few main reasons. Here’s how to spot and fix them:
- Dense, heavy loaf: Too little liquid, or using only one flour. Add 2-3 tablespoons more water or milk next time, and always use a flour blend.
- Collapsed middle: Too much yeast, or a cycle that’s too long. Use less yeast, or switch to a shorter setting.
- Crumbly bread: Not enough binder (xanthan gum/psyllium). Increase by 1/2 teaspoon.
- Bland flavor: Use a mix of flours, not just rice flour. Sorghum, millet, or buckwheat add flavor.
- Gummy texture: Bread is underbaked. Leave in the machine for 5 extra minutes (use the “bake only” setting if available).
Beginner insight: Gluten-free dough should always look like thick cake batter, not like regular bread dough. If it forms a ball, you need more liquid.
How To Store And Freeze Gluten-free Bread
Fresh gluten-free bread dries out quickly. For best results:
- Cool the loaf completely before slicing.
- Store in a sealed bag at room temperature for up to 2 days.
- For longer storage, slice and freeze in an airtight bag. Toast directly from frozen.
Never refrigerate gluten-free bread—it dries out the loaf and makes it stale faster.
Enhancing Nutrition And Flavor
You can improve both the nutrition and taste of your gluten-free bread by adding extra ingredients. Here are easy ways:
- Add 1/4 cup ground flaxseed for fiber and healthy fats.
- Mix in 1/2 cup sunflower or pumpkin seeds for crunch and protein.
- Substitute part of the liquid with plain yogurt for more tenderness.
- Blend in 2 tablespoons honey for a subtle sweetness.
If you want a higher-protein loaf, replace 1/2 cup of flour blend with almond flour. For a nut-free bread, use sunflower seed flour (but note it can turn bread slightly green due to a reaction with baking soda—safe, but surprising).
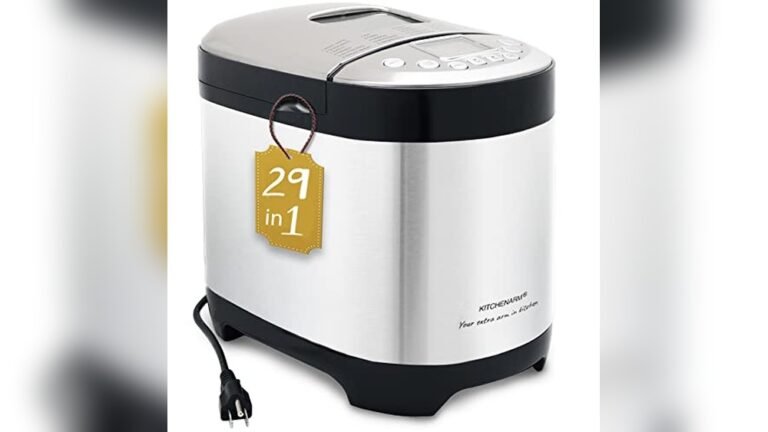
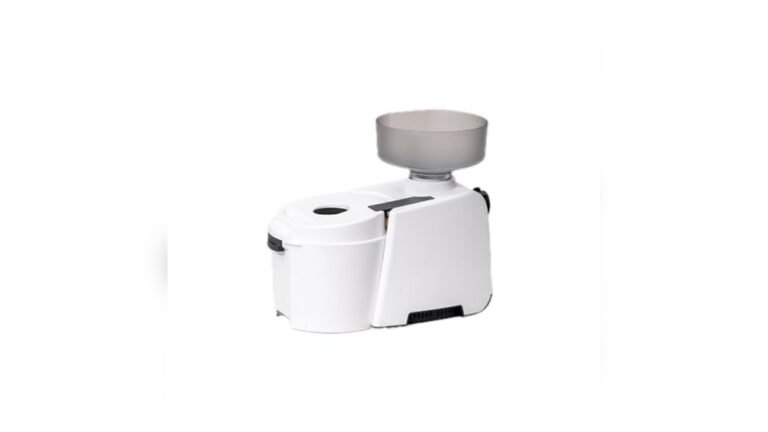
Choosing The Right Bread Machine For Gluten-free Bread
Not all bread machines are equal. If you’re buying a new one, look for these features:
- Gluten-free program: This saves time and guesswork.
- Custom cycle: Lets you set rise, knead, and bake times.
- Nonstick pan: Gluten-free dough is sticky, so cleanup matters.
- Good paddle design: Makes sure batter mixes evenly.
Some popular machines for gluten-free bread:
- Zojirushi Home Bakery Virtuoso Plus (excellent custom cycles)
- Cuisinart CBK-110 (reliable gluten-free setting)
- Hamilton Beach HomeBaker (budget-friendly, includes gluten-free mode)
Non-obvious insight: Cheaper bread machines often have uneven heating. This can create a pale or gummy bottom. If you notice this, finish the loaf in your oven for 10 minutes at 375°F.
Practical Tips For Perfect Gluten-free Bread In A Bread Machine
Making perfect gluten-free bread is about more than just following a recipe. Use these tips for better results:
- Weigh your flour. Gluten-free flours vary in density. Use a kitchen scale for best accuracy.
- Warm your liquids. Cold water slows yeast growth. Aim for 110°F (43°C).
- Scrape down sides. During the first 5 minutes, use a spatula to mix in any dry spots.
- Remove paddles after mixing. If possible, take out mixing paddles before baking to prevent holes in the loaf.
- Let bread cool fully. Gluten-free bread sets as it cools. Slicing too early causes crumbling.
If your bread always sticks, line the bottom of the pan with parchment paper before adding ingredients.
Troubleshooting: Texture, Rise, And Crust
Is your bread too pale or soft? Here’s what to adjust:
- Crust too pale: Increase sugar by 1 tablespoon or brush top with oil before baking.
- Crust too hard: Reduce bake time by 5 minutes or cover loaf with foil during baking.
- Bread didn’t rise: Check yeast freshness. Also, room temperature matters—cold rooms slow rising.
- Soggy bottom: Increase bake time or finish bread in the oven.
Sample Gluten-free Bread Machine Schedule
Here’s a sample workflow to make bread in the morning:
- 7: 00 AM: Add ingredients to bread machine
- 7: 05 AM: Start gluten-free cycle
- 7: 10 AM: Scrape down sides
- 8: 45 AM: Bread finished baking
- 9: 00 AM: Remove bread, cool on rack
- 9: 45 AM: Slice and enjoy
Adjust times based on your machine’s cycle length.
Common Add-ins And Their Effects
Add-ins can make your bread unique. Here are ideas and what they do:
| Add-in | Amount | Effect |
|---|---|---|
| Chopped nuts | 1/2 cup | Crunchy, nutty flavor |
| Sunflower seeds | 1/2 cup | Extra nutrition, subtle crunch |
| Dried fruit | 1/2 cup | Sweetness, chewy bites |
| Herbs | 2 tbsp | Fresh aroma, savory taste |
| Chia seeds | 2 tbsp | Moisture retention, nutrition |
Add these after the initial mixing beep or at the start, if your machine mixes well.
When To Use Store-bought Vs. Homemade
Store-bought gluten-free bread is convenient but often expensive, small, and not always tasty. Homemade bread is fresher, cheaper per slice, and you control the ingredients. Bread machines let you bake a loaf with 10 minutes of hands-on time. The only downside is a learning curve, but with practice, you’ll get better results than most store loaves.
External Resource
For more information on gluten-free flours, their nutrition, and how they affect bread texture, check out the Wikipedia Gluten-Free Diet page.
Frequently Asked Questions
Can I Use Regular Bread Recipes With Gluten-free Flour In My Bread Machine?
Not directly. Regular recipes depend on gluten for rise and texture. You need to adjust for more liquid, add a binder (like xanthan gum), and use a single-rise cycle.
Why Does My Gluten-free Bread Collapse In The Middle?
This is often too much yeast, too long a cycle, or not enough structure (binder). Try less yeast, a shorter cycle, and check that you use enough xanthan gum or psyllium.
What Is The Best Flour Mix For Gluten-free Bread Machines?
A blend of rice flour, potato starch, and tapioca flour is reliable for most machines. Adding sorghum or millet flour improves taste and nutrition. Avoid using just one flour.
How Do I Keep Gluten-free Bread Fresh?
Let bread cool, store in an airtight bag at room temperature for 1–2 days, or freeze slices. Never refrigerate—this makes gluten-free bread dry and crumbly.
Do I Need A Special Bread Machine For Gluten-free Bread?
No, but a machine with a gluten-free cycle makes it easier. If your machine doesn’t have this, use the “quick” or “cake” setting, and avoid double-rise cycles.
Making perfect gluten-free bread in a bread machine takes a little practice, but the results are worth it. With the right mix, recipe, and machine settings, you’ll enjoy fresh, delicious bread every time.