Usage Guide Apple Corer: Master Effortless Apple Preparation Today
If you love apples but dread the time it takes to core and prepare them, an apple corer is about to become your new best friend. This simple tool makes removing the tough core quick and easy, saving you effort and reducing waste.
Whether you’re preparing a fresh snack, baking a pie, or making homemade applesauce, knowing how to use your apple corer correctly can transform your kitchen routine. In this guide, you’ll discover straightforward steps and handy tips to get the most out of your apple corer—so you can enjoy perfectly cored apples every time without any hassle.
Keep reading to unlock the full potential of this handy kitchen gadget!

Credit: www.amazon.com
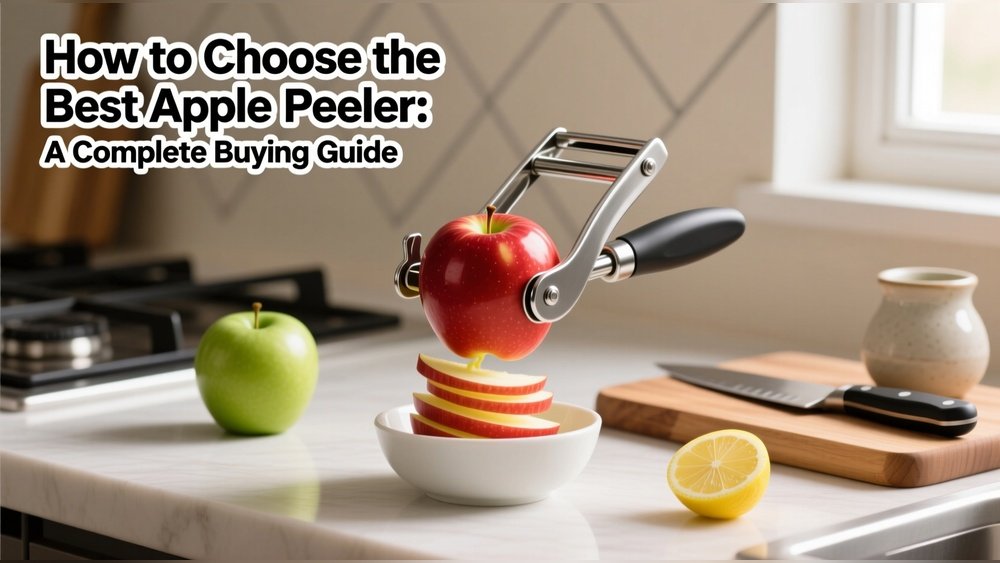
Choosing The Right Apple Corer
Choosing the right apple corer makes a big difference in your kitchen tasks. It helps save time and effort when preparing apples for snacks, baking, or cooking. Knowing the differences between types and what fits your needs ensures better results. Here are key points to consider before buying an apple corer.
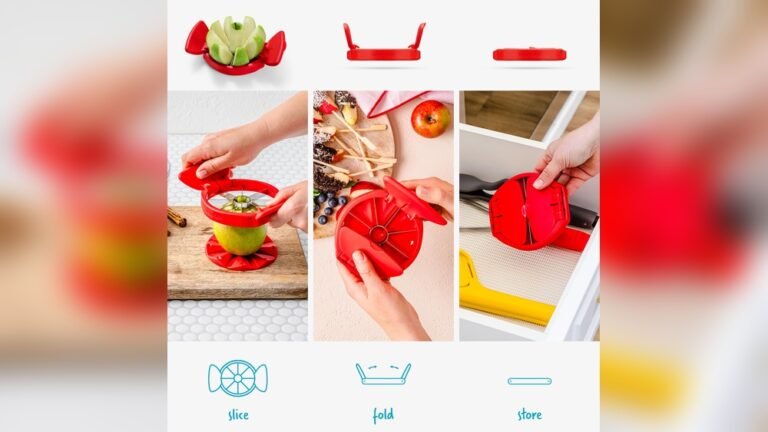
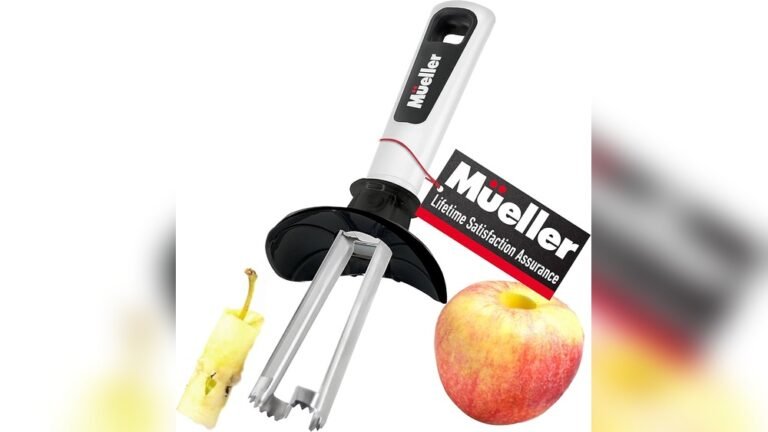
Manual Vs Electric Models
Manual apple corers work without power and cost less. They are simple and easy to clean. You push or twist them through the apple to remove the core. Electric models use a motor to make coring faster. They are helpful for large batches but need power and more space. Manual corers suit small kitchens and occasional use. Electric corers are better for frequent or heavy use.
Materials And Durability
Apple corers come in different materials like stainless steel, plastic, or silicone. Stainless steel is strong and lasts long. It resists rust and cuts cleanly. Plastic corers are lightweight and often cheaper. They may wear out faster and break easily. Silicone parts add grip and comfort to handles. Choose a corer with sturdy materials for frequent use.
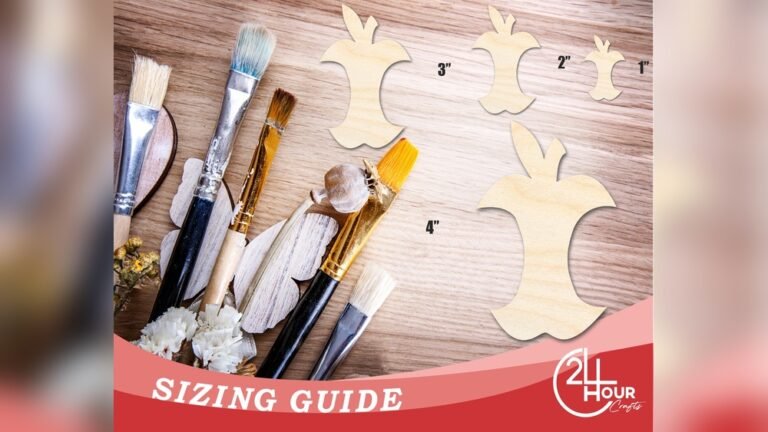
Size And Compatibility
Apple sizes vary, so corers come in different diameters. Some corers fit small apples, others fit larger ones. Adjustable corers work for many sizes but can be tricky to use. Check the corer’s size before buying to match your apple types. Also, consider the handle size for comfortable use. A good fit helps remove the core cleanly and easily.
Preparing Apples For Coring
Preparing apples for coring is the first step to making your task easier and cleaner. Proper preparation helps the apple corer work smoothly and saves time. It also improves the look and taste of your apple slices. Follow these simple steps before you start coring.
Selecting Fresh Apples
Choose apples that are firm and free from bruises. Fresh apples have a crisp texture that holds well during coring. Avoid apples with soft spots or wrinkles. These can break or become mushy when cored. Popular varieties like Fuji, Gala, and Honeycrisp work great for coring.
Washing And Drying Tips
Rinse apples under cold running water to remove dirt and pesticides. Use a soft brush to clean the skin gently. Dry the apples thoroughly with a clean towel. Dry apples prevent slipping and make coring safer and easier. Clean apples also improve the taste and hygiene of your dishes.
Core Before Or After Peeling?
Coring before peeling helps keep the apple intact. It removes the seeds and hard center quickly. After coring, peel the apple for cleaner slices. Peeling first can make apples slippery and harder to core. Choose the method that fits your recipe and ease of handling.
Step-by-step Coring Process
The step-by-step coring process makes removing the apple core quick and easy. It helps prepare apples for cooking or snacking without waste. Follow simple steps to use the apple corer correctly. This guide shows how to position, insert, and remove the core cleanly.
Positioning The Apple
Place the apple on a flat surface for stability. Hold it firmly with one hand. Make sure the apple’s stem points upward. This position aligns the core with the corer. Keep fingers clear of the tool’s path for safety.
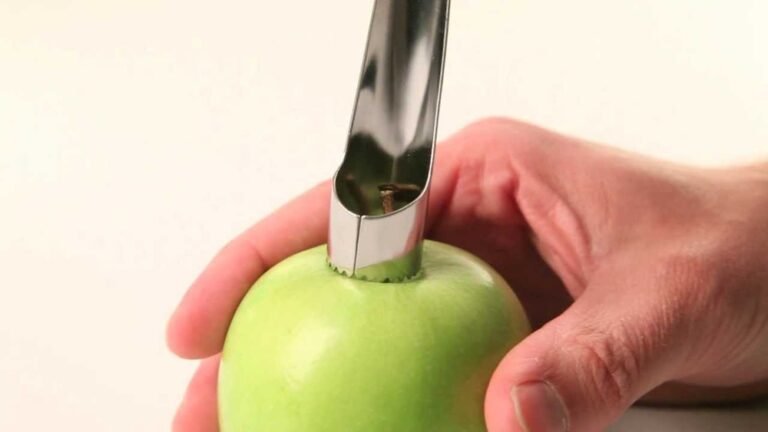
Inserting The Corer
Center the apple corer over the stem. Push the corer straight down through the apple. Apply steady pressure without twisting. The sharp edges cut through the fruit and core. Stop when you reach the bottom of the apple.
Removing The Core Cleanly
Pull the corer straight up from the apple. The core should come out inside the corer tube. Tap or squeeze the corer to release the core. Check the apple for any leftover seeds or core bits. Your apple is now ready to use or eat.
Advanced Techniques For Peeling And Slicing
Advanced techniques for peeling and slicing apples make kitchen tasks easier and faster. Using the apple corer with extra tools can enhance the process. These methods also improve the presentation and texture of apple slices. Try these tips to get perfect results every time.
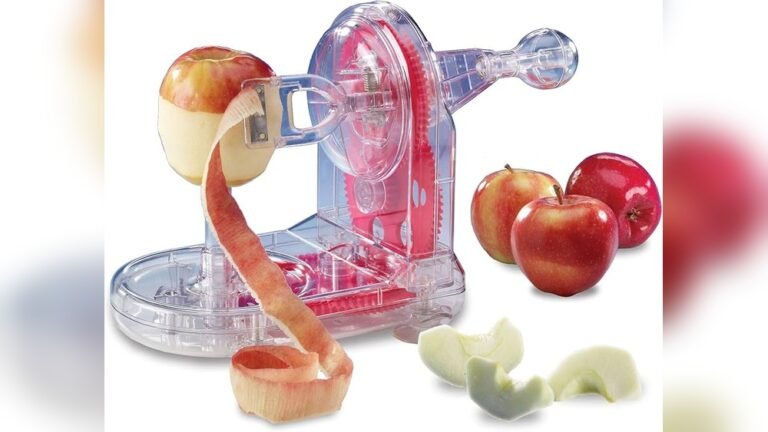
Using Corer With Peeler And Slicer
Start by securing the apple corer on a stable surface. Attach the peeler and slicer to the corer if it is a multi-tool. Turn the handle steadily to peel, core, and slice the apple in one motion. This method saves time and keeps slices uniform. It also reduces waste by peeling thin layers.
Creating Apple Spirals
After coring, you can create apple spirals easily. Use a sharp knife to cut the peeled apple lengthwise into thin strips. Twist each strip gently to form a spiral shape. These spirals look great in salads and desserts. They add a fun and creative touch to your dishes.
Cutting Apples Evenly
Even apple slices cook uniformly and look appealing. Use the apple corer’s slicer attachment to cut apples into equal pieces. Turn the handle slowly for consistent thickness in each slice. If cutting by hand, use a ruler or guide for accuracy. Even slices improve taste and texture in recipes.
Creative Uses Beyond Apples
The apple corer is not just for apples. It has many creative uses in the kitchen. This simple tool can help you prepare other fruits and vegetables quickly and neatly. You can also make beautiful fruit decorations and get your ingredients ready for cooking or baking. Explore these smart ways to use your apple corer beyond apples.
Coring Other Fruits And Vegetables
Use the apple corer to remove seeds or cores from many fruits and vegetables. Try it on pears, tomatoes, and cucumbers. The corer makes clean, round holes that save time. It also helps remove unwanted parts without wasting too much flesh. This works great for prepping snacks or salads.
Making Decorative Fruit Rings
Create pretty fruit rings by coring fruits like pineapples or melons. Slice the fruit into thick rounds first. Then use the corer to cut out the center. These rings look nice on plates or in fruit salads. They add a fun, elegant touch to any dish. Kids and guests will enjoy the colorful, neat shapes.
Preparing For Baking And Cooking
Core fruits like apples or pears before baking to improve texture and flavor. The corer removes seeds and tough parts quickly. This makes stuffing or filling easier. Use the tool to hollow out zucchinis or bell peppers for recipes. It speeds up prep work and helps keep shapes intact during cooking.
Credit: spice.alibaba.com
Maintenance And Care
Proper maintenance and care keep your apple corer working smoothly. Regular attention extends its life and performance. Simple steps prevent damage and maintain sharpness. Follow these easy tips for cleaning, sharpening, and storage.
Cleaning Your Apple Corer
Clean the apple corer after each use. Rinse it under warm water to remove fruit bits. Use mild soap and a soft brush for thorough cleaning. Avoid harsh chemicals that can damage the metal. Dry completely before storing to prevent rust.
Sharpening And Replacing Blades
Keep the blades sharp for easy coring. Use a small sharpening stone or steel to sharpen edges gently. Replace blades if they become dull or damaged. Dull blades make coring harder and can damage apples.
Storage Tips
Store the apple corer in a dry place. Keep it away from moisture to avoid rust. Use a protective cover or case if available. Store blades separately if removable to keep them safe and sharp.
Troubleshooting Common Issues
Using an apple corer should be simple and quick. Yet, some issues can slow you down. This section helps solve common problems easily. Follow these tips to keep your apple corer working well.
Dealing With Stuck Cores
Sometimes the core stays inside the corer. Push the core out by tapping the tool on a hard surface. Use a small stick or toothpick to remove tight cores. Clean the corer after each use to avoid buildup. This keeps the core from getting stuck again.
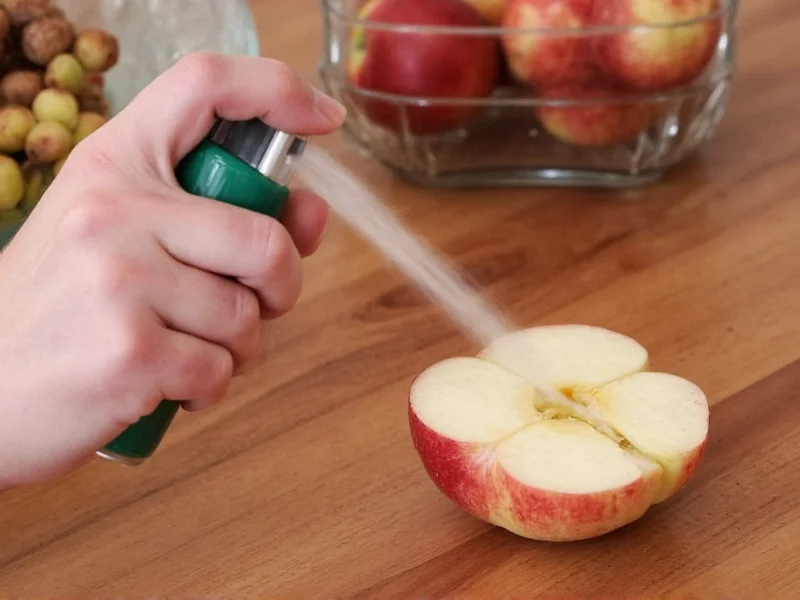
Handling Soft Or Overripe Apples
Soft apples can break or mash when cored. Chill the apple in the fridge before coring. It firms up the fruit and makes coring easier. Apply gentle pressure and go slow to avoid squashing. Use a sharp corer to cut smoothly through soft apples.
Fixing Uneven Cuts
Uneven cuts happen if the apple is not centered. Place the apple firmly on a flat surface. Align the corer with the apple’s center before pressing down. Hold the apple steady with one hand. This helps the corer make straight, clean cuts every time.

Credit: nf-co.re
Time-saving Tips And Tricks
Saving time while preparing apples is easy with the right tips. Using an apple corer speeds up the process and reduces mess. This section shares useful tricks to make your kitchen work faster and safer.
Batch Coring For Large Recipes
Prepare many apples at once by coring them in batches. Line up the apples on a clean surface. Core one after another without pausing. This method cuts down your prep time a lot. It also helps keep your workspace organized and neat.
Combining Coring With Other Prep Tools
Use an apple corer along with peelers and slicers. Core first, then peel or slice for quick results. This combination saves steps and effort. It works great for making pies, salads, or snacks. Keep all your tools nearby to switch easily between tasks.
Safety Tips For Efficient Use
Hold the apple firmly to avoid slipping. Use a stable cutting board to protect your surface. Push the corer straight down to prevent accidents. Clean the corer after each use to keep it sharp. Never rush; careful work is the fastest in the long run.
Frequently Asked Questions
How To Properly Use An Apple Corer?
Place the apple stem-side down on the corer’s prongs. Press firmly and twist the handle. Pull out the core. Remove the apple and cut as desired. Clean the corer after use for best results.
What Else Can I Use An Apple Corer For?
Use an apple corer to remove seeds from cucumbers, core tomatoes quickly, or create hollow tubes in watermelon slices. It speeds up prep for stuffed fruits and vegetables.
Should You Peel Or Core An Apple First?
Core the apple first to remove seeds and minimize waste. Then peel to avoid leftover skin on tops or bottoms.
How Do Apple Core Removers Work?
Apple core removers work by inserting a circular blade through the apple’s center. Twisting or pushing the tool extracts the core and seeds quickly. This leaves the apple intact and ready to eat or cook without the tough core.
Conclusion
An apple corer makes preparing apples quick and easy. It removes the core cleanly, saving time and effort. Use it before peeling to reduce waste. The tool also works well for cucumbers, tomatoes, and more. Regular practice helps improve your technique.
Keep your corer clean for best results. Enjoy fresh, cored fruits in snacks and recipes. Simple steps, better cooking.