How to Clean Can Opener for a Germ-Free kitchen
Your can opener works hard every time you pop open a can, but when was the last time you gave it a good cleaning? If you’re like most people, it probably doesn’t get the attention it deserves.
Yet, a dirty can opener can harbor germs, rust, and sticky gunk that not only makes it harder to use but can also affect your food. Don’t worry—cleaning your can opener is easier than you think. You’ll learn simple, effective steps to keep your can opener spotless, smooth-turning, and safe to use.
Ready to make your kitchen tool shine again? Let’s dive in!
Credit: www.thekitchn.com
Why Clean Your Can Opener
Cleaning your can opener is easier with the right tools at hand. Gathering these supplies before starting saves time and effort. Some tools are essential, while others help with a deeper clean. Prepare to make your can opener hygienic and rust-free.
Basic Cleaning Supplies
- Warm water for rinsing dirt and food particles
- Dish soap to cut through grease and grime
- A soft cloth or sponge for gentle scrubbing
- An old toothbrush to reach small gears and crevices
- A clean towel to dry the can opener thoroughly
Optional Cleaning Helpers
- White vinegar to remove rust and tough stains
- Baking soda for natural scrubbing power
- Rubbing alcohol to sanitize and kill bacteria
- A small brush or cotton swabs for detailed cleaning
- Lubricating oil to keep the gears turning smoothly

Credit: www.youtube.com
Tools You’ll Need
Keeping your can opener clean every day stops germs and grime from building up. A simple daily routine keeps your opener safe and working smoothly. This routine takes little time but adds a lot of value to your kitchen hygiene.
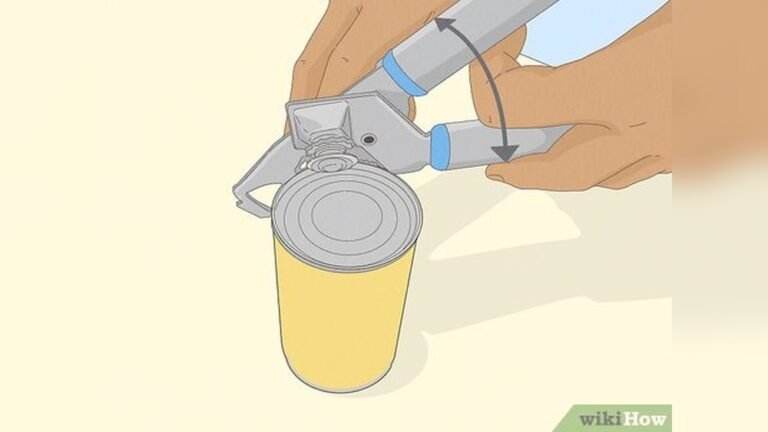
Rinse And Wash After Use
Rinse the can opener right after you use it. Use hot water and a little dish soap. Focus on the cutting wheel and gears. These parts catch most of the food bits. Use a soft brush or sponge to scrub them gently. This removes sticky residue and stops rust. Rinsing right away prevents food from drying on the opener. Dry food is harder to clean later.
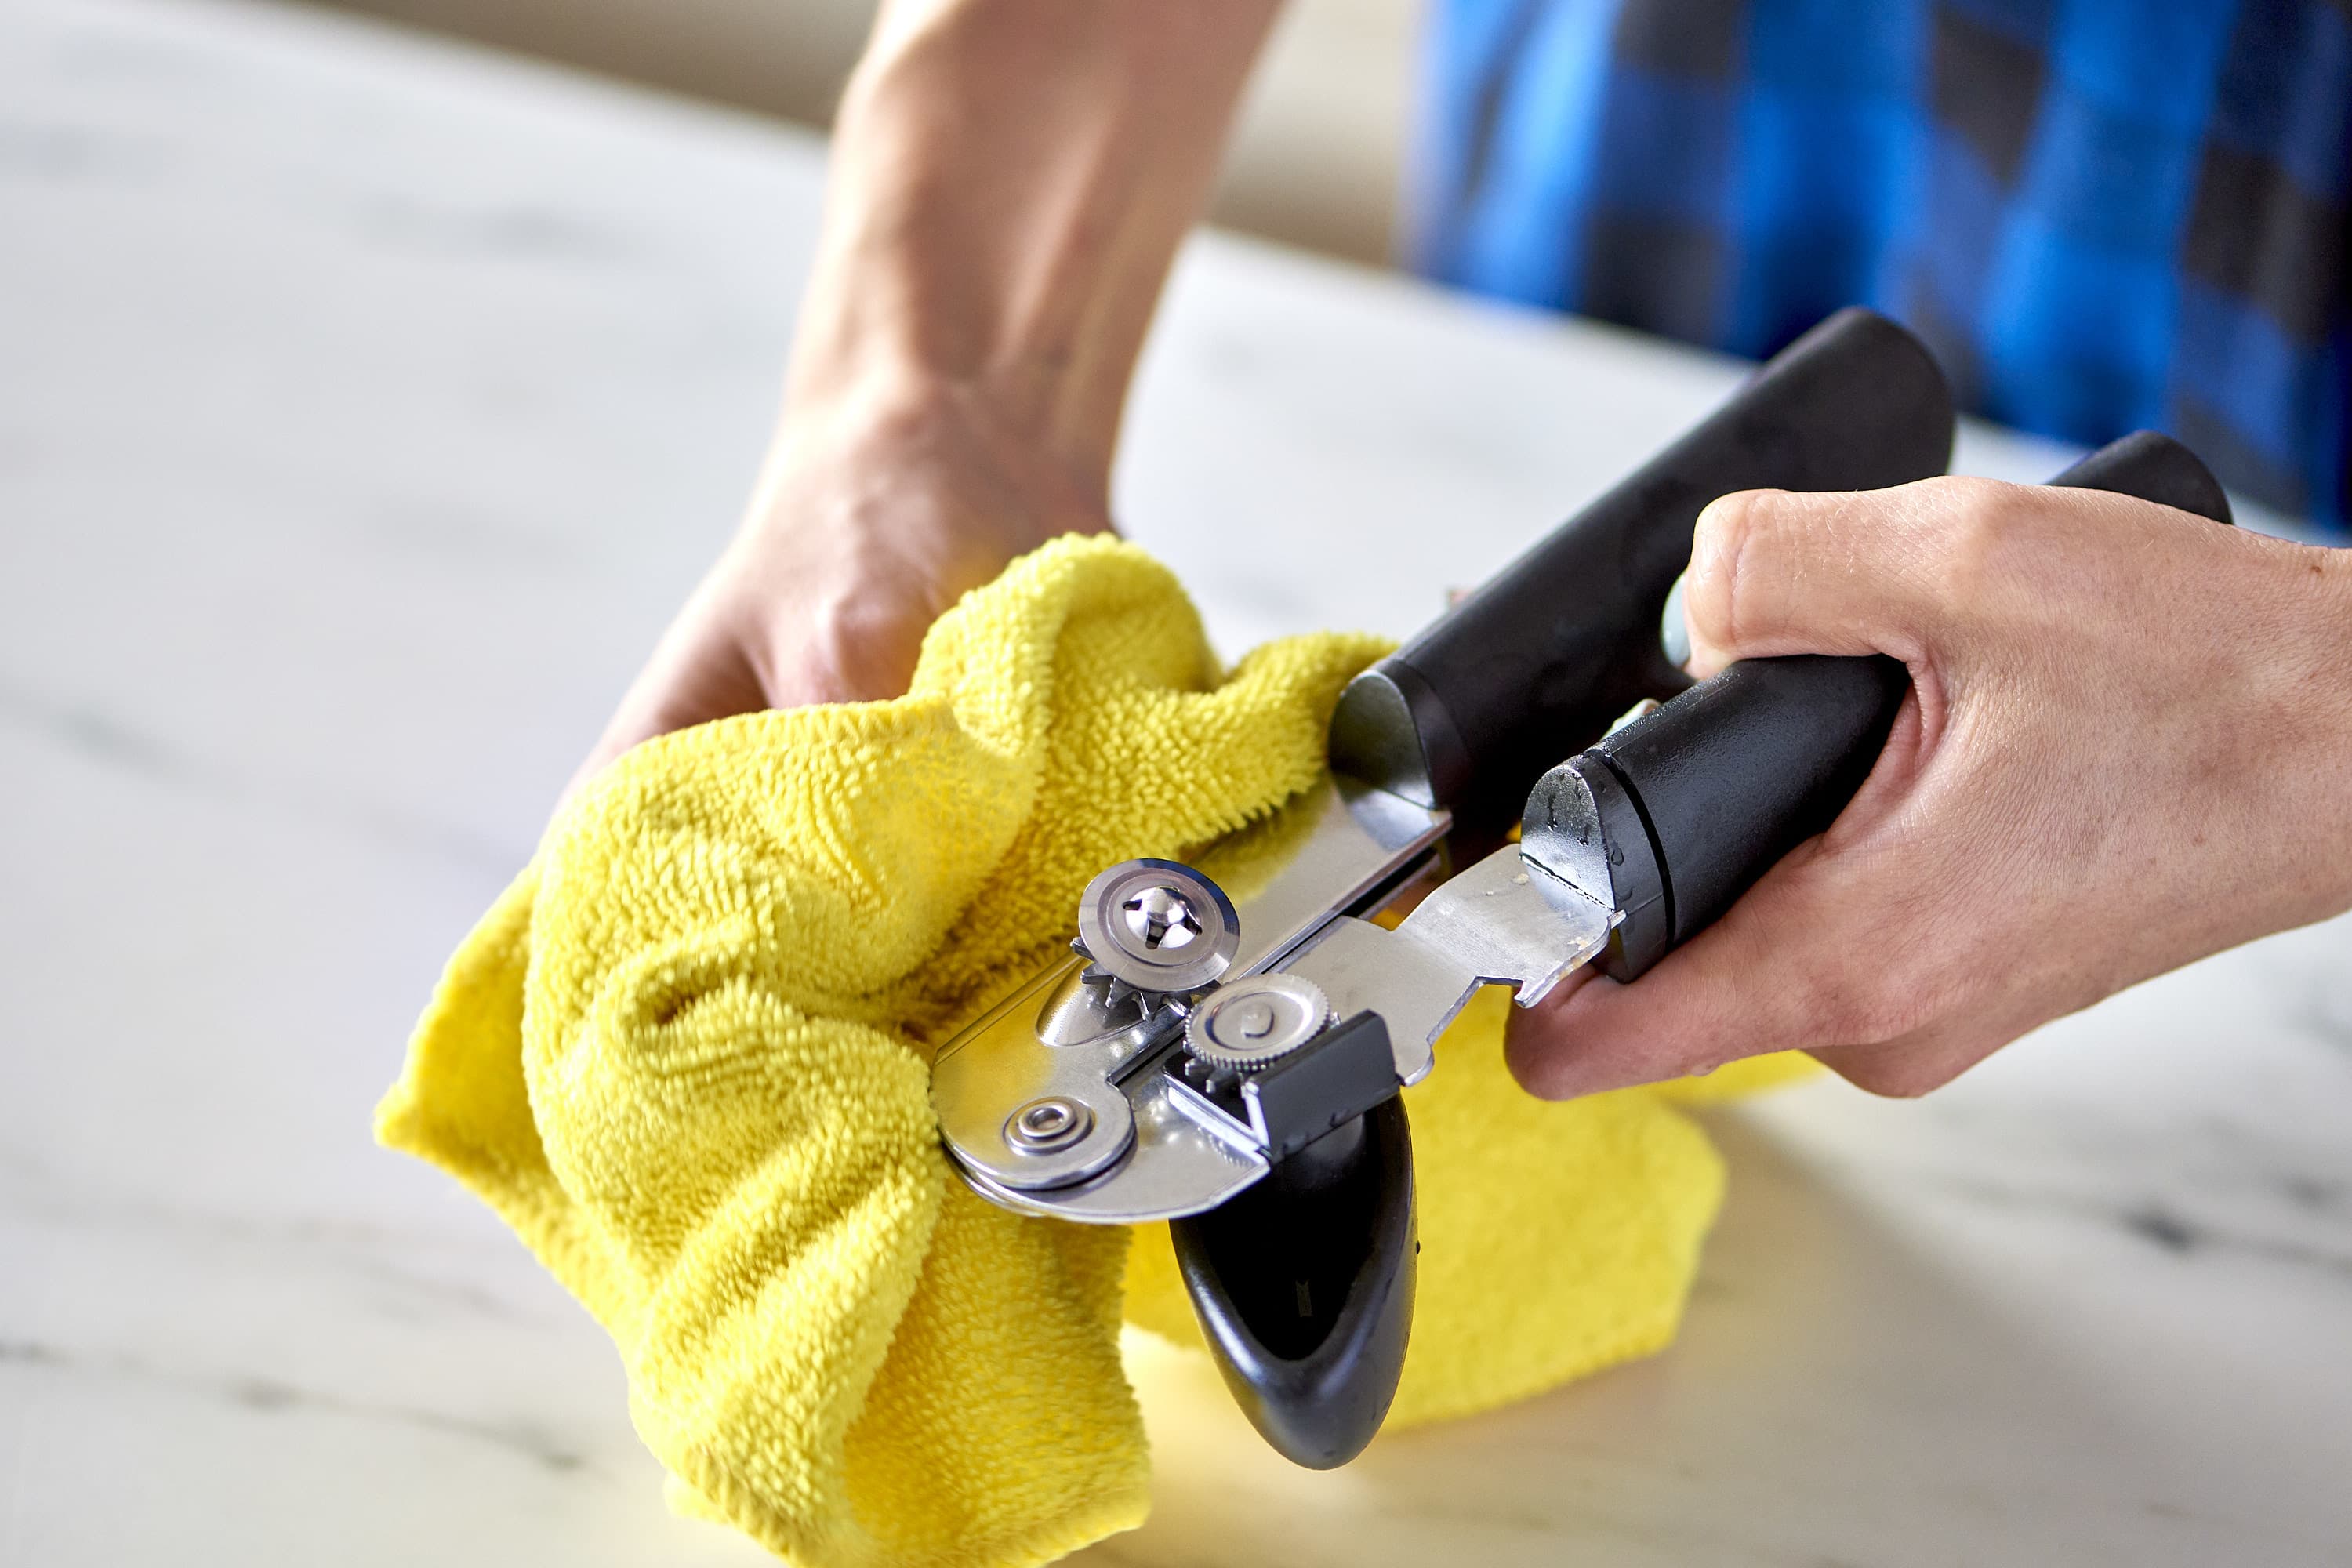
Drying Techniques
After washing, dry the can opener well. Use a clean dish towel to wipe it down. Open the handles wide to let air reach inside. This helps all parts dry faster. Avoid leaving the opener wet. Water left on metal can cause rust. Letting it air dry fully keeps the opener in good shape. Store it in a dry place to keep moisture away.
Daily Cleaning Routine
Electric can openers make kitchen tasks easier and faster. Proper care keeps them working well and lasts longer. Cleaning and maintenance prevent buildup and damage. Follow simple steps to keep your electric can opener in top shape.
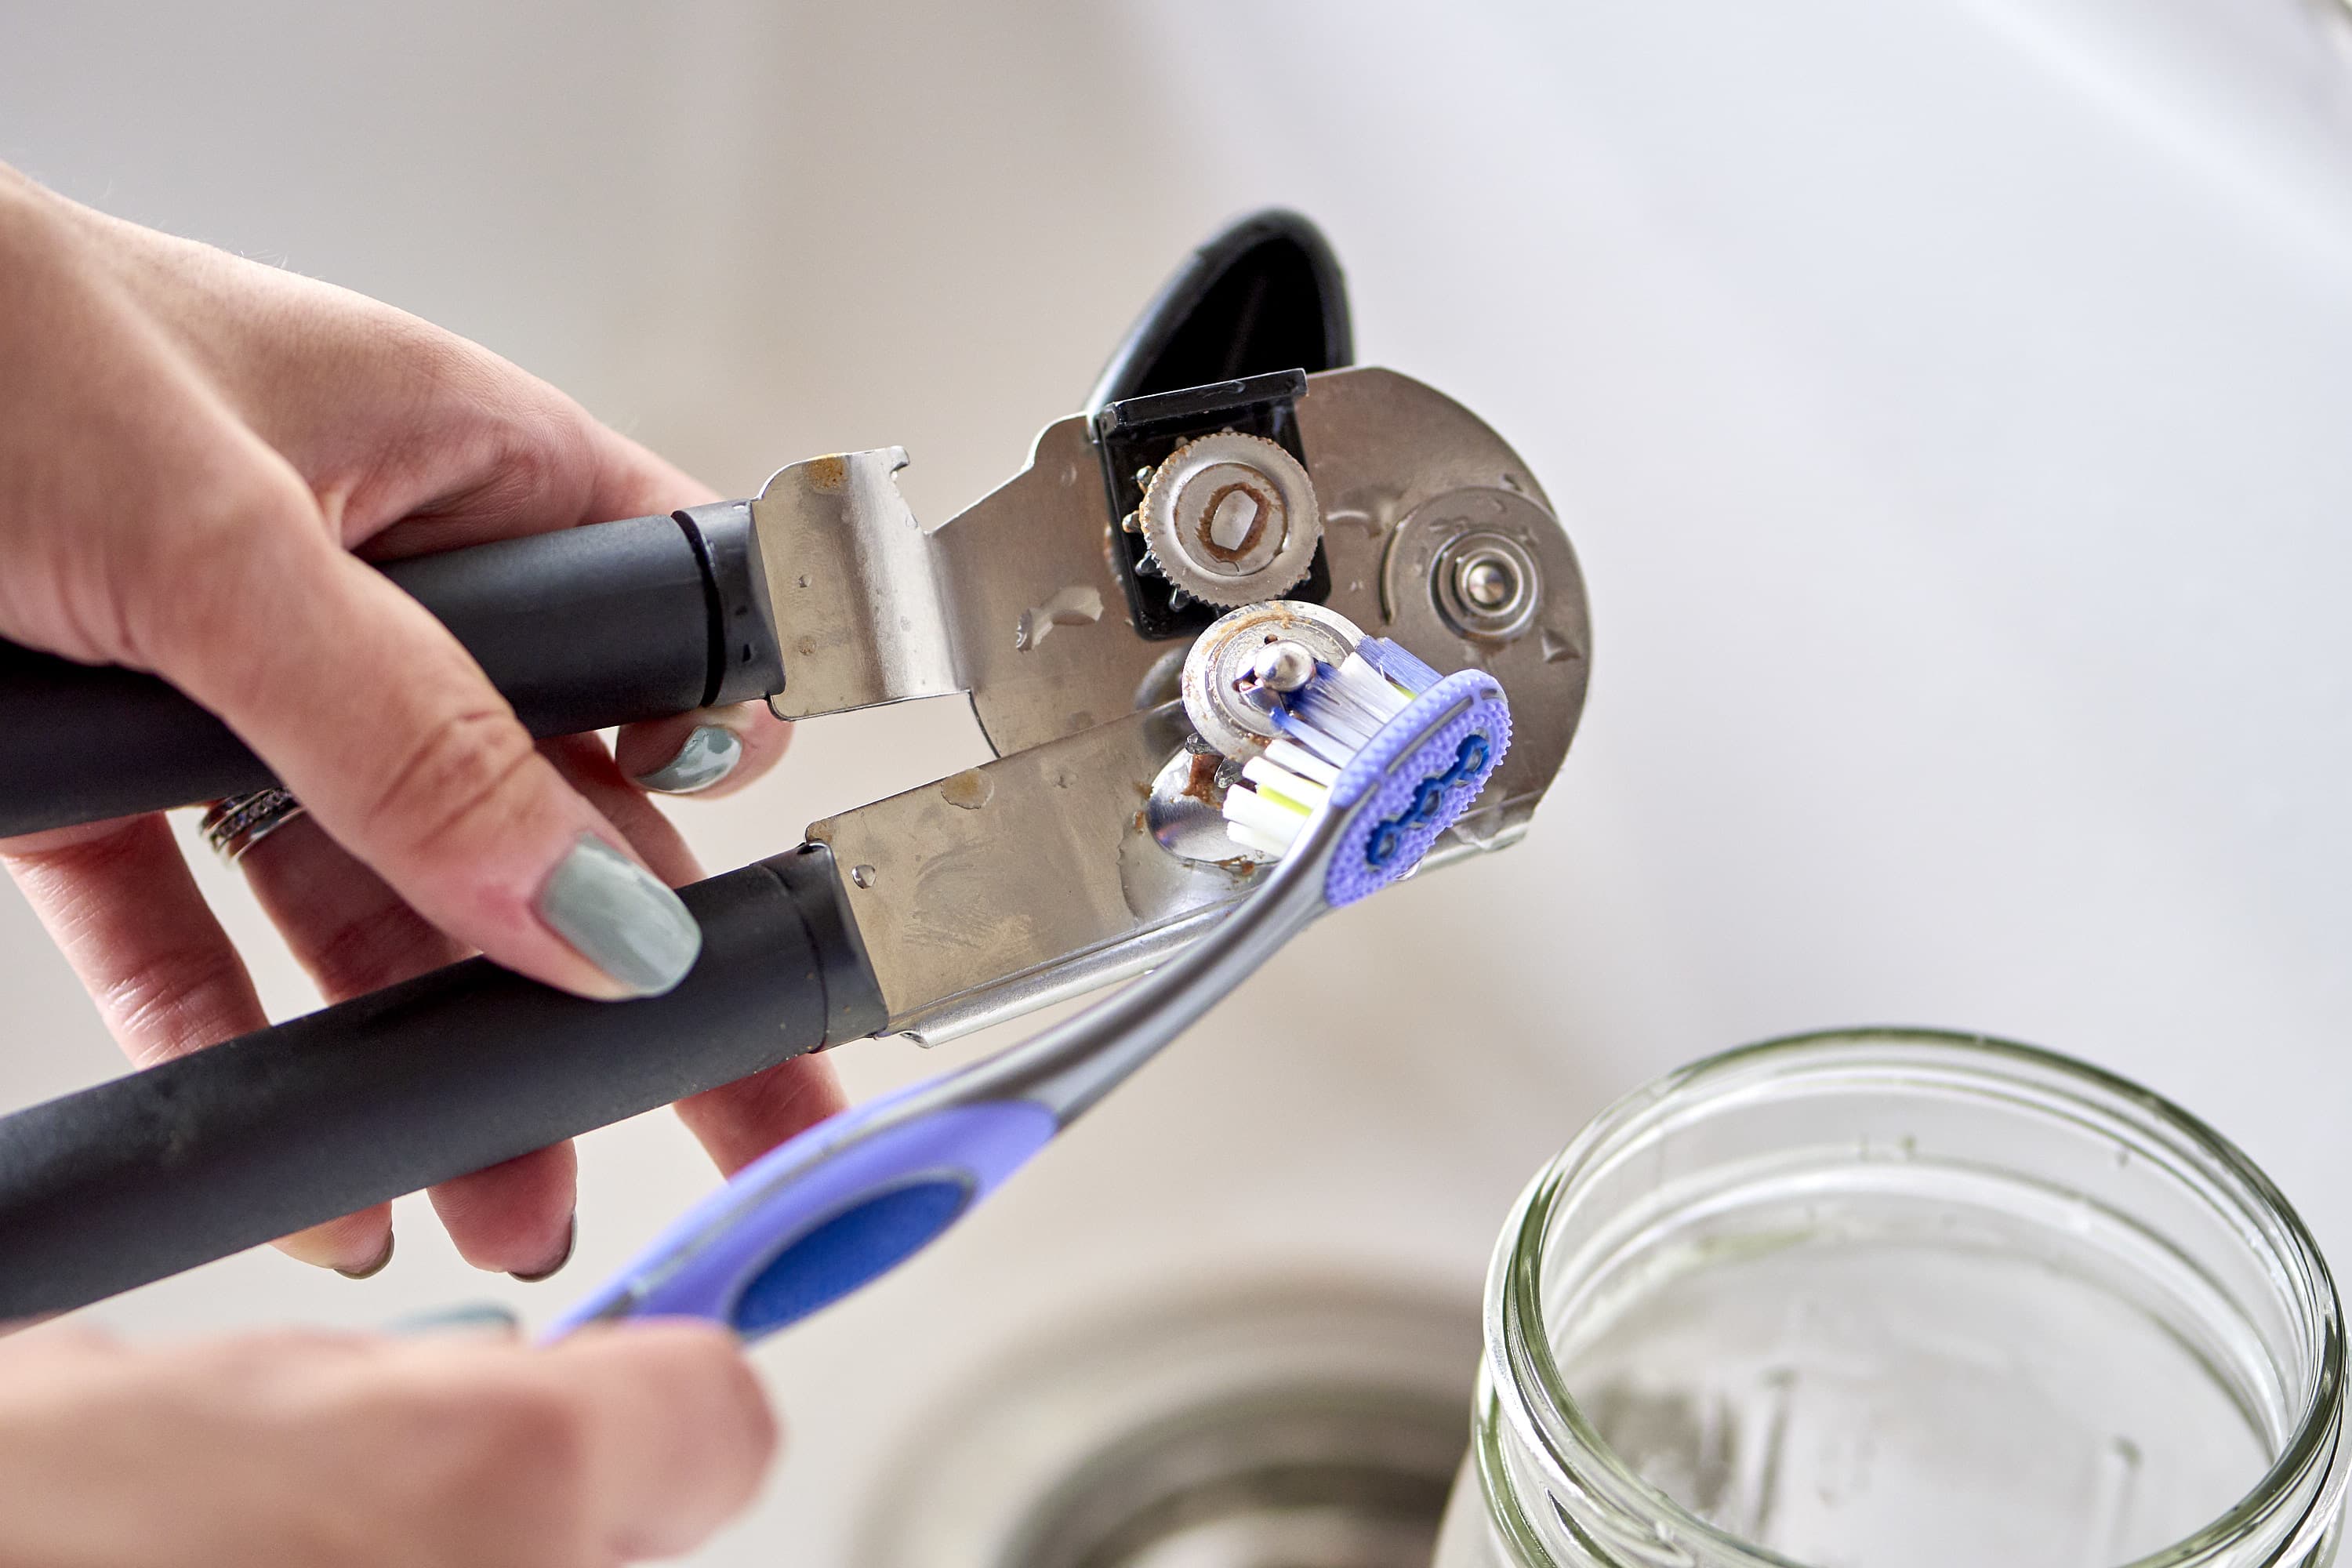
Cleaning The Blade And Unit
Unplug the can opener before cleaning. Wipe the blade with a damp cloth to remove food residue. Use a soft brush or old toothbrush to clean hard-to-reach areas. Avoid abrasive tools that can damage the blade. Clean the entire unit’s surface with a mild dish soap solution. Dry the blade and unit thoroughly to prevent rust.
Avoiding Water Damage
Never immerse the electric can opener in water. Water can damage the motor and electrical parts. Use a damp cloth instead of soaking for cleaning. Dry the unit immediately after wiping it down. Store the can opener in a dry place to avoid moisture buildup. Keep the device away from sinks or wet surfaces.
Deep Cleaning Steps
Preventing buildup on your can opener keeps it working smoothly and hygienic. Simple habits stop grime and rust from forming. Clean tools last longer and stay safe for food use. Follow these tips to reduce the need for deep cleaning and enjoy a fresh can opener every day.
Proper Storage Practices
Store your can opener in a dry spot. Moisture causes rust and sticky residue. Avoid leaving it near the sink or stove where steam collects. Open the handles slightly before storing. This allows air to dry any leftover moisture. Keep it separate from other utensils to avoid damage. A clean, dry place extends your tool’s life.
Avoiding Dishwasher Use
Dishwashers can harm manual can openers. High heat and harsh detergents cause rust and dull the blade. Wash by hand with warm water and mild soap instead. Dry it immediately after washing. This prevents water spots and corrosion. Hand washing keeps the cutting wheel sharp and the opener working well.
Credit: www.thekitchn.com
Frequently Asked Questions
What’s The Best Way To Clean A Can Opener?
Clean a can opener by washing the cutting wheel and gears with hot, soapy water after each use. Scrub with a toothbrush dipped in vinegar or baking soda. Dry thoroughly to prevent rust. For deep cleaning, soak in vinegar, then rinse and dry.
Apply food-safe mineral oil to gears if needed.
Does A Can Opener Need To Be Washed?
Yes, wash your can opener after every use to remove grime and bacteria. Clean the cutting wheel and gears with hot, soapy water. Dry thoroughly to prevent rust. Regular cleaning keeps it safe and functioning well. Avoid dishwashers as they may cause rust on metal parts.
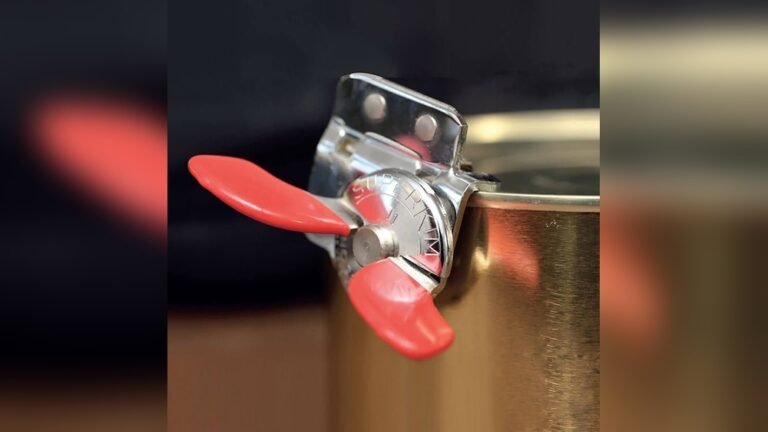
How To Clean The Gears On A Can Opener?
Clean can opener gears by clamping a paper towel and turning the handle to remove residue. Scrub gears with a toothbrush dipped in vinegar or baking soda. Dry thoroughly to prevent rust. Apply food-safe mineral oil to keep gears moving smoothly.
How Long To Soak Can Opener In Vinegar?
Soak the can opener in vinegar for 10 to 15 minutes to loosen rust and grime. Then scrub and rinse well.
Conclusion
Keeping your can opener clean helps it work smoothly and last longer. Regular rinsing and drying stop rust and germs from building up. Scrubbing the gears removes stuck food and grime easily. Soaking in vinegar can tackle tough rust spots.
A little care goes a long way in maintaining your can opener. Clean tools mean safer, easier meal prep every time. Don’t skip this simple kitchen habit—it makes a big difference.