How to Clean a Butter Cutter for Easy and Hygienic Use
If you love cooking or baking, you know how handy a butter cutter can be. It helps you slice perfect pats of butter quickly and cleanly.
But here’s the catch—if your butter cutter isn’t cleaned properly, it can get sticky, greasy, and hard to use. You don’t want old butter residue messing with your next recipe or making your kitchen tools unhygienic. That’s why learning how to clean your butter cutter the right way matters.
You’ll discover simple, effective steps to keep your butter cutter spotless and working like new. Keep reading, and say goodbye to sticky messes and hello to smooth, easy butter slicing every time!

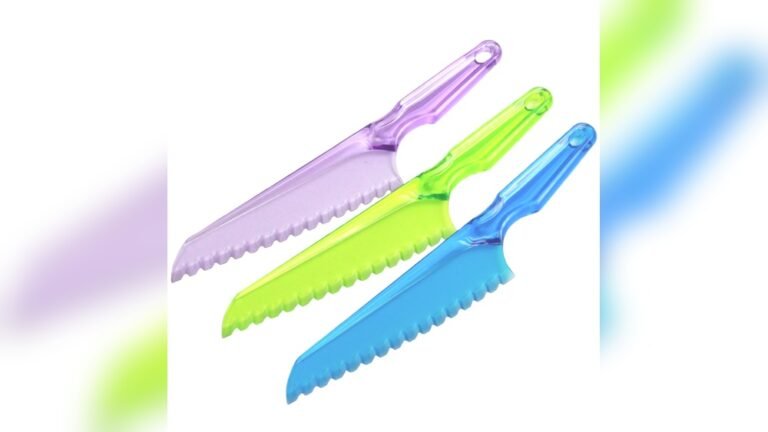
Credit: www.amazon.com
Choosing The Right Butter Cutter
Butter cutters come in different materials like plastic, stainless steel, and wood. Stainless steel is durable and easy to clean. Plastic cutters are lightweight but may stain or wear out faster. Wood looks nice but can absorb butter and is harder to clean.
Look for cutters with simple designs. Fewer parts mean less dirt can get trapped. Some have removable blades that make cleaning easier. Smooth surfaces help wipe off butter without much effort.
Cutters with dishwasher-safe labels save time. Avoid cutters with many small crevices where butter can hide. A good design lets you clean every part well and keeps your cutter hygienic.
Disassembling Your Butter Cutter
Start by gently removing the top cap of the butter cutter. Hold the device firmly and twist or pull the cap off carefully. This exposes the inside chamber where the butter sits.
Next, focus on extracting the pusher clip. Turn the cutter upside down and tap it lightly. The white square pusher clip should fall out easily. Keep the arrow on the clip facing the back when reassembling.
Finally, separate the blades and other components. Remove each blade carefully to avoid bending or damage. Clean each part thoroughly before putting them back together.
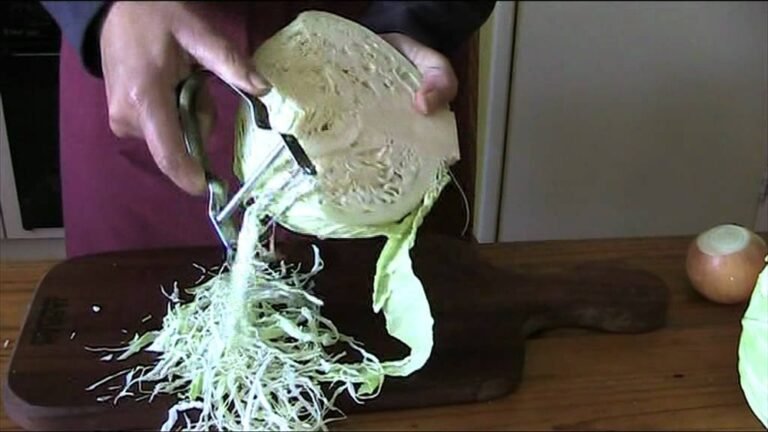
Cleaning Techniques
Use warm soapy water to hand wash the butter cutter. This helps remove grease and residue gently. Avoid harsh scrubbing to protect the cutter’s surface.
A soft brush works well for cleaning blades. It reaches tight spots without causing damage. Clean blades carefully to keep them sharp and safe.
Many butter cutters are dishwasher safe. Check the product instructions before placing it in the dishwasher. Use the top rack to avoid heat damage.

Credit: www.walmart.com
Dealing With Stubborn Butter Residue
Soaking the butter cutter in warm water helps to loosen stubborn residue. Use a bowl large enough to submerge the cutter fully. Add a few drops of mild dish detergent to the water. Let it soak for 10 to 15 minutes. This softens leftover butter and makes cleaning easier.
Choose gentle detergents to avoid harming the cutter’s parts. Harsh chemicals might damage plastic or metal components. Always use soft sponges or cloths to wipe the cutter after soaking. Avoid abrasive scrubbers that can scratch the surface.
Rinse the cutter thoroughly with clean water to remove soap residue. Dry it completely before storing to prevent rust or mold. Handle the cutter gently to avoid bending or breaking any part. Proper care keeps the cutter working smoothly and lasting longer.
Drying And Maintenance
After washing the butter cutter, use a clean cloth to dry it well. Avoid leaving any moisture on the surface. Moisture can cause rust or mold to form quickly. Let the cutter air dry completely before storing it away.
Store the butter cutter in a dry place with good air flow. Avoid putting it in damp or humid areas. This helps prevent rust and mold growth.
Check the cutter regularly for any signs of rust or damage. Wipe it clean after every use. Use a small brush to clean hard-to-reach spots. This keeps the cutter working well for a long time.
Troubleshooting Common Issues
Removing stuck butter pushers requires gentle handling. First, remove the top cover carefully. Turn the butter cutter upside down and tap it lightly to loosen the pusher. If stuck, use a small tool or toothpick to nudge the pusher out. Avoid using too much force to prevent damage. Clean any butter residue around the pusher before reinserting it.
Fixing blade alignment keeps cuts smooth and even. Check the blade position inside the cutter. Adjust it by loosening screws slightly, then move the blade until it lines up properly. Tighten the screws securely afterward. Misaligned blades cause uneven slices or jamming.
Ensuring smooth operation means regular cleaning and lubrication. Remove all butter pieces and wash parts with warm, soapy water. Dry thoroughly to avoid rust. Apply a small amount of food-safe oil on moving parts to keep them sliding easily. Test the cutter by slicing a small piece of butter before regular use.
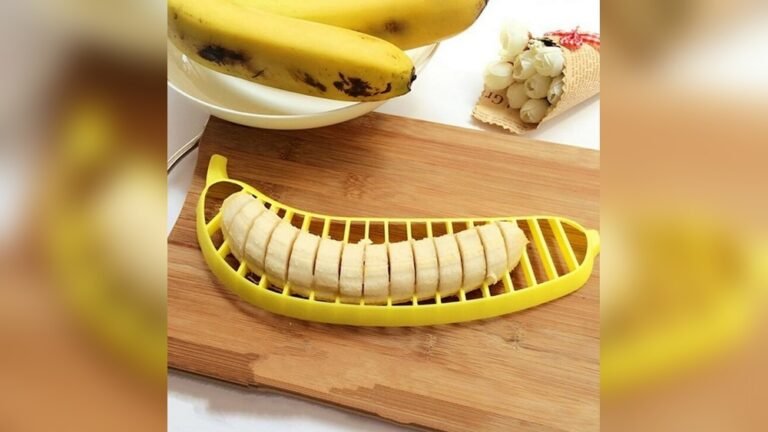
Tips For Cutting Butter Cleanly
Cold butter slices more cleanly and holds its shape better. Keep butter in the fridge until ready to cut. Soft butter tends to stick and tear, making a mess.
Always place the butter on a stable surface like a cutting board. This prevents slipping and uneven cuts. A steady base helps you control the cutter with ease.
To avoid mess, use a sharp butter cutter or knife. Cut with smooth, even pressure. Wipe the cutter blade between slices to keep cuts clean and prevent buildup.

Credit: www.amazon.com
Conclusion
Cleaning your butter cutter regularly keeps it working smoothly. Use warm water and mild soap for best results. Avoid harsh scrubbing to protect the cutter’s surface. Dry it completely before storing to prevent rust or damage. A clean cutter makes slicing butter easier and neater every time.
Simple steps help maintain your kitchen tool’s life. Keep your butter cutter ready for every cooking task.