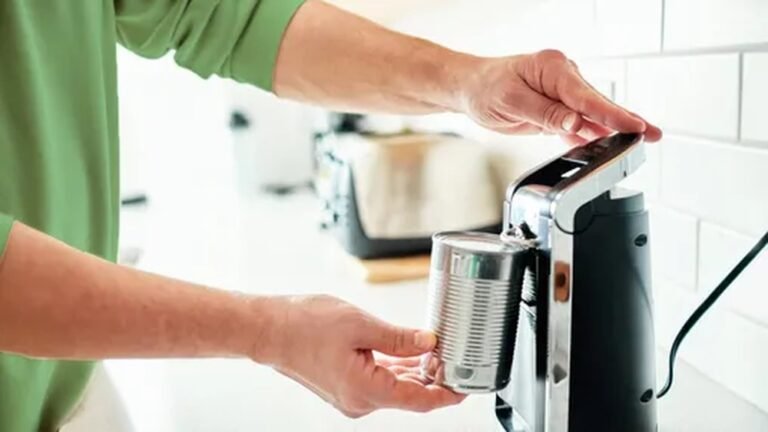
No More Struggles! How to Use a Can Opener the Right Way
Have you ever struggled with opening a stubborn can, only to end up frustrated and with jagged edges? If you want to save time, avoid mess, and keep your fingers safe, learning the right way to use a can opener is a game changer.
In this guide, you’ll discover simple steps that make opening cans quick and effortless every time. Whether you’re new to kitchen tools or just looking to sharpen your skills, by the end of this article, you’ll handle any can opener like a pro.
Ready to make your cooking prep smoother? Let’s dive in!

Credit: www.youtube.com
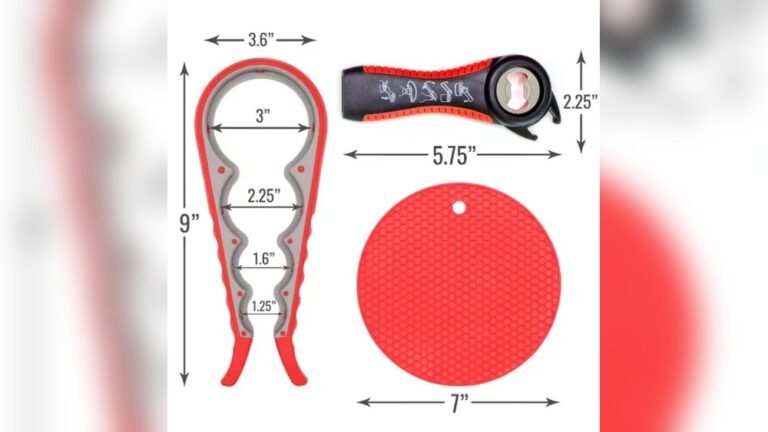
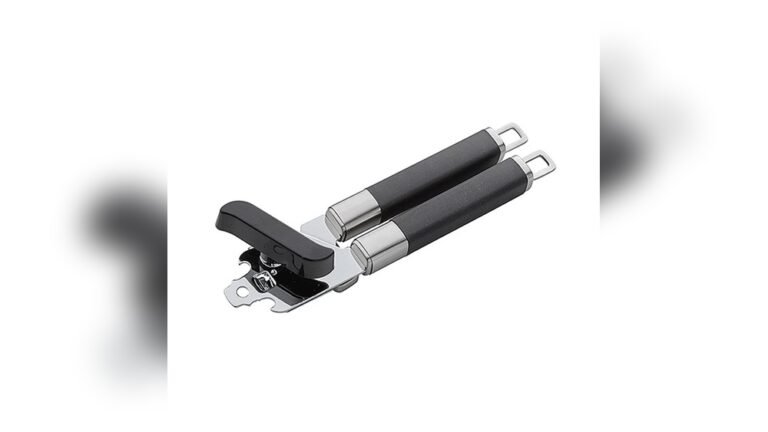
Choosing The Right Can Opener
Choosing the right can opener is important for a smooth kitchen experience. The right tool makes opening cans easy and safe. Consider your needs and kitchen space before buying. This guide helps you pick the best can opener for your home.
Manual Vs Electric Openers
Manual can openers are simple and affordable. They do not need batteries or power. Good for small kitchens and occasional use. Electric can openers are faster and require less effort. Ideal for people with weak hands or arthritis. They take up more space and cost more.
Features To Consider
Look for a can opener with a comfortable grip. Sharp blades cut cans easily and cleanly. A smooth edge feature prevents sharp edges on lids. Some openers have magnetic lids to avoid drops. Size matters: compact models save space in small kitchens.
Maintenance And Cleaning Tips
Keep the blades clean to avoid rust and bacteria. Wash the opener after each use with warm, soapy water. Dry it well to prevent moisture damage. Avoid putting manual openers in the dishwasher unless labeled safe. Electric openers often have removable parts for easy cleaning.
Preparing The Can And Opener
Preparing the can and opener is the first step to opening cans easily. It sets you up for a smooth and safe process. This stage includes positioning the can, securing the opener, and checking safety.
Positioning The Can
Place the can on a flat, stable surface. This stops the can from slipping during use. Make sure the top of the can is clean. Wipe away any dirt or dust. This keeps your food safe.
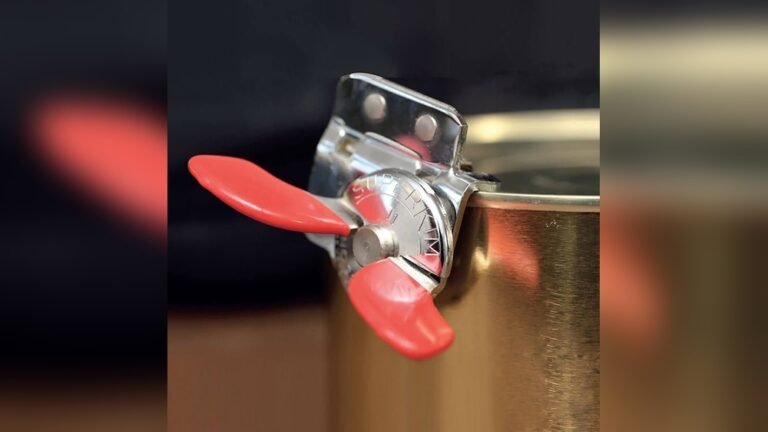
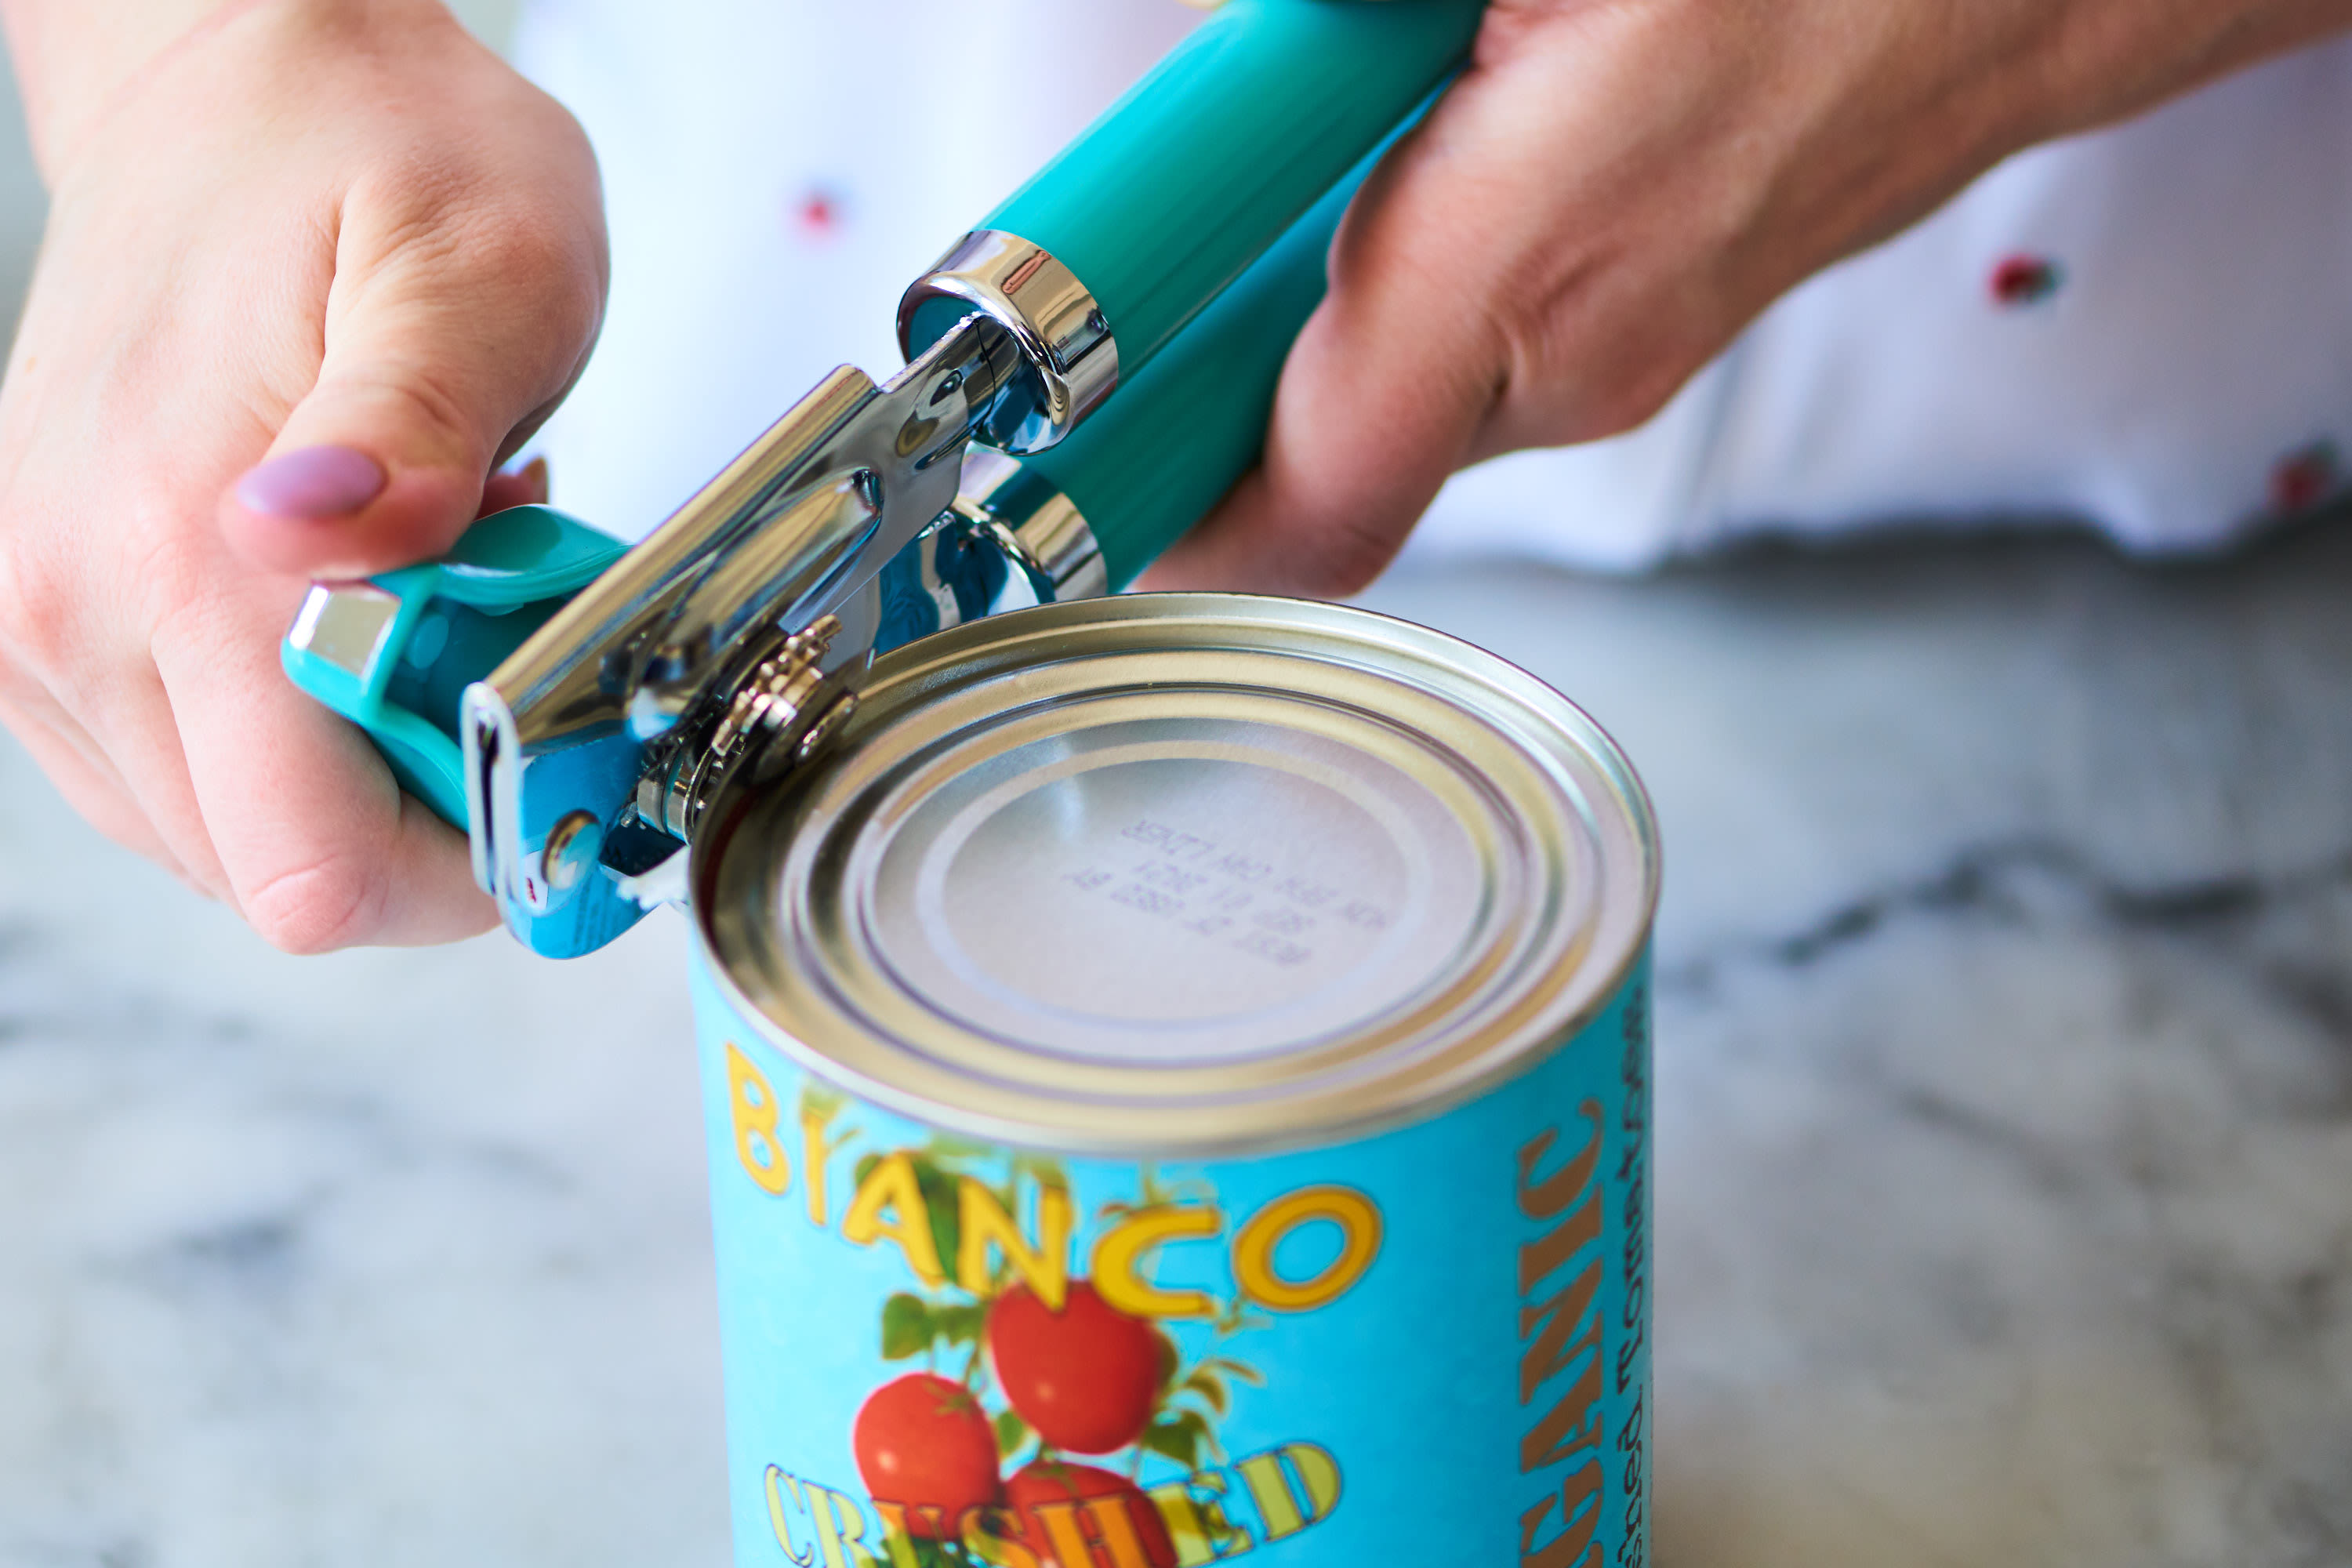
Securing The Opener Properly
Open the can opener’s handles wide. Place the cutting wheel on the can’s edge. The wheel must touch the lid’s rim. Squeeze the handles to clamp the opener. Hold it firmly but don’t force it too hard.
Ensuring Safety Before Starting
Check that the can opener is locked in place. Make sure your fingers are away from the cutting edge. Keep the opener steady to avoid slips. Ready your other hand to hold the can steady. Safety prevents accidents and makes opening easier.
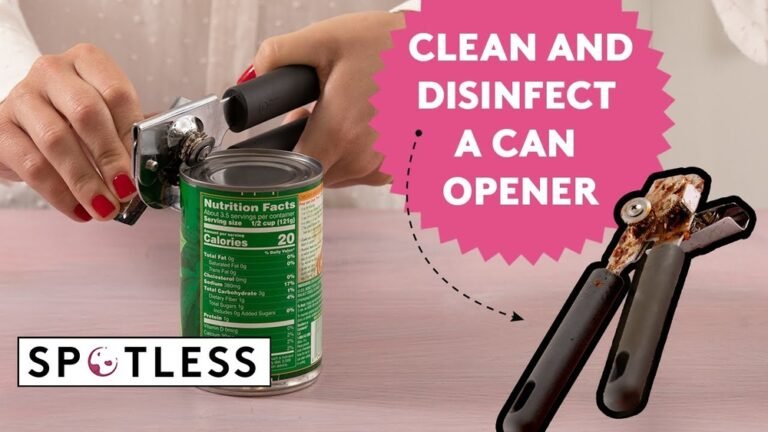
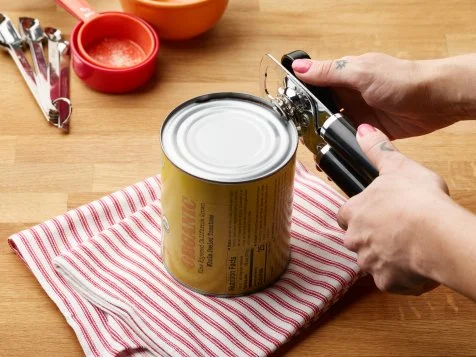
Step-by-step Opening Process
Opening a can with a manual can opener is simple and safe if you follow each step carefully. Proper use helps you avoid sharp edges and spills. The process includes clamping the opener, twisting the handle, and finishing the cut around the lid.
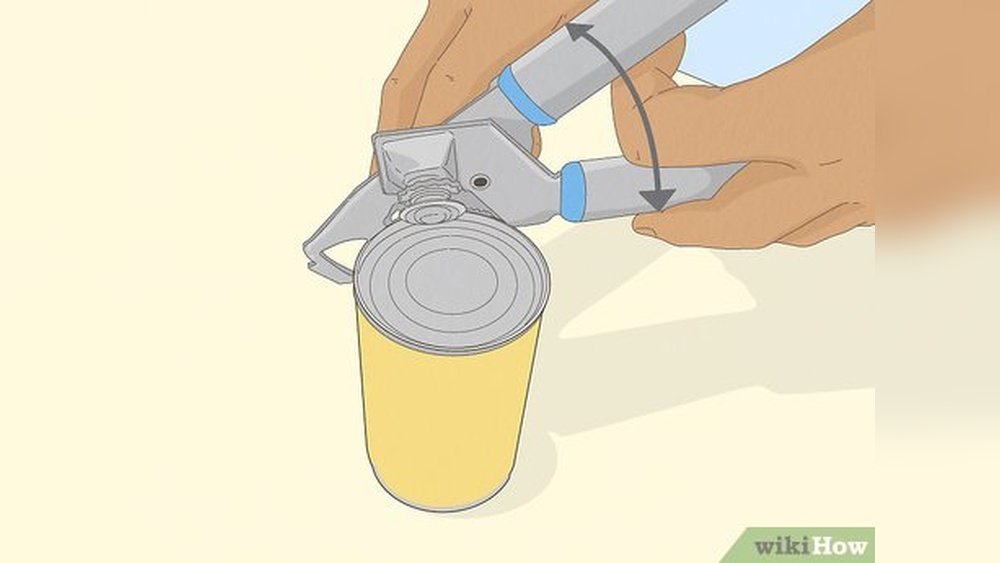
Clamping The Opener Correctly
Place the can opener’s cutting wheel on the can’s edge. Make sure the wheel grips the lid firmly. Press the handles together until the opener clamps tightly. The opener should not slip or move.
Check that the cutting wheel touches the lid. The other side of the opener must rest on the can’s rim. This setup keeps the opener steady while you turn the handle.
Twisting The Handle Smoothly
Turn the handle in a steady, clockwise motion. Keep the pressure even to cut through the lid. Avoid jerky or fast movements to prevent spills. The cutting wheel will slice the lid as you turn.
Continue twisting until the opener has cut a full circle. You may hear a slight change in resistance when the cut is complete. Stop turning once you feel this change.
Completing The Cut Around The Lid
Release the handles to unclamp the opener from the lid. Carefully lift the lid using the opener or a utensil. Avoid touching the sharp edges of the lid. Dispose of the lid safely to prevent cuts.
Check the can rim for any metal shavings before pouring or using the contents. Clean the can opener after use to keep it in good condition. Proper cleaning prevents rust and keeps the tool safe.
Handling The Lid Safely
Handling the lid safely is important after opening a can. The lid can have sharp edges that cause cuts. Taking care with the lid keeps your fingers safe. It also helps avoid spills or messes from leftover food. Follow simple steps to lift, dispose of, or reuse the lid without harm.
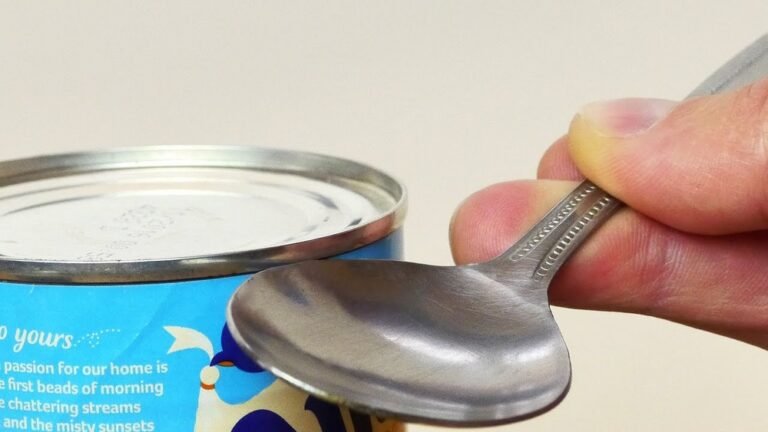
Lifting The Lid Without Cuts
Use the can opener to cut the lid cleanly. Avoid pushing the lid inside the can. Use a spoon or fork to gently lift the lid. Hold the lid with a cloth or paper towel to protect your fingers. Lift slowly to prevent sudden slips. Never use bare hands near the sharp edges.
Disposing Or Reusing The Lid
Throw lids away carefully in a bin with a lid. Place the lid inside the can before disposal to avoid cuts. Some lids can be washed and reused for crafts or storage. Always clean lids well before reuse. Label reused lids to avoid confusion with new cans. Keep them out of children’s reach.
Avoiding Sharp Edges
Run a cloth over the edge to feel for sharp spots. Use sandpaper or a nail file to smooth rough edges if needed. Store cans and lids safely to avoid accidental cuts. Teach children not to touch opened lids. Use a can opener that leaves smooth edges for safer handling.
Tips For Efficient Opening
Opening cans with a can opener seems simple but doing it efficiently saves time and effort. Small habits can make the process smoother and safer. Here are practical tips to open cans efficiently.
Slowing Down At The End
Turn the handle slower as you near the end of the cut. This prevents the lid from falling inside the can. It also reduces sharp edges that can cause cuts. A slow finish keeps the lid intact and easier to handle.
Using The Lid To Drain Liquids
After opening, tilt the can slightly and use the lid to hold back the food. Pour out any unwanted liquid without removing the lid completely. This method works well for canned beans or vegetables. It helps avoid spills and makes draining easier.
Dealing With Stubborn Cans
Some cans may be hard to open due to tight seals or dull blades. Apply firm, steady pressure on the handle to pierce the lid. If needed, clean the blade or sharpen it slightly. Avoid forcing the opener to prevent slipping or injury.
Credit: www.foodnetwork.com
Troubleshooting Common Issues
Troubleshooting common issues with a can opener helps you avoid frustration. Many problems are easy to fix and improve your experience. This guide covers the most frequent challenges and practical solutions.
Opener Not Cutting Smoothly
The blade may be dull or dirty, causing rough cuts. Clean the blade with warm, soapy water to remove residue. If the blade is worn, consider replacing the can opener. Press firmly while turning to keep the blade engaged. Slow, steady rotation helps the blade cut evenly.
Can Slipping During Use
Slipping happens when the can or opener is wet or greasy. Dry both the can rim and the opener before use. Hold the can firmly on a flat surface. Check the grip of the handles; if loose, tighten the screws. A steady hand and proper alignment prevent slipping.
Handling Rusty Or Old Openers
Rust affects the opener’s performance and safety. Remove light rust with a brush or steel wool. Soak the opener in vinegar for deeper rust removal, then dry thoroughly. Lubricate moving parts with food-safe oil to restore smooth action. Replace openers with heavy rust to avoid injury or contamination.
Alternative Can Opening Methods
Sometimes, a regular can opener is not available or practical to use. Alternative can opening methods come in handy in these situations. They allow you to open cans safely and efficiently without a traditional tool.
These methods vary from simple ring-pull tabs to vintage techniques and emergency improvisations. Each method offers a different way to access the contents of a can. Learning these alternatives can save you time and effort.
Using Ring-pull Tabs
Many canned foods come with ring-pull tabs. To use, lift the tab firmly until it breaks the seal. Then, pull the tab back slowly to open the lid.
This method is quick and easy. It requires no extra tools and reduces the risk of cuts. Always pull the tab gently to avoid spilling the contents.
Vintage Can Opener Techniques
Before modern can openers, people used knives or spoons to open cans. Place the tip of a sturdy knife on the can’s edge. Carefully tap the back of the knife to puncture the lid.
Work your way around the lid by repeating the tapping. This creates an opening large enough to lift the lid. Take care to avoid slipping and cutting yourself.
Improvised Tools In Emergencies
In emergencies, you can use household items like a spoon, screwdriver, or even a rock. For example, rub the can’s lid edge on a rough surface until it thins out. Then, pry it open with a spoon or knife.
These methods require patience and caution. They are not as fast as a can opener but can work when no other tools are available. Always prioritize safety to prevent injury.
Credit: www.thekitchn.com
Frequently Asked Questions
Do You Use A Can Opener On The Top Or Side?
Use the can opener on the top edge of the can, clamping it securely. Twist the handle to cut around the lid.
What Way Do You Twist A Can Opener?
Turn the can opener’s handle clockwise to rotate the cutting wheel around the can’s lid. Keep steady pressure while twisting.
How To Open A Can With A Regular Can Opener?
Place the can opener’s blade on the can’s edge. Clamp it tightly. Turn the handle clockwise to cut around the lid. Lift the lid carefully once fully cut. Dispose of the lid safely.
How Do You Put A Can Opener On A Can?
Place the can opener’s cutting wheel on the can’s lid edge. Clamp firmly to grip the rim. Turn the handle clockwise to cut.
Conclusion
Using a can opener is simple and safe with these easy steps. Always place the opener securely on the can’s edge. Turn the handle steadily and keep pressure to cut smoothly. Stop turning before the lid fully detaches to avoid sharp edges.
Lift the lid carefully to prevent spills or cuts. Practice makes it easier and faster each time. Now, opening cans won’t be a hassle in your kitchen. Enjoy your meals with less stress and more confidence.