How to Clean Onion Chopper Easily | Quick & Effective Tips
You love using your onion chopper because it saves you time and keeps your kitchen mess-free. But have you ever struggled to clean it afterward?
If you’re like most people, tiny onion bits and sticky residue can get stuck in the blades and crevices, making cleaning a real hassle. The good news is, with the right steps, cleaning your onion chopper can be quick, easy, and even satisfying.
Stick with me, and I’ll show you how to keep your chopper spotless and ready for your next cooking adventure. Your hands, and your kitchen will thank you!
Disassemble The Chopper
Disassembling your onion chopper is the first step to a thorough clean. Taking it apart helps remove trapped food bits. It also makes cleaning safer and easier. Follow simple steps to separate each component carefully.
Remove Detachable Parts
Start by taking off the lid or top cover. Most onion choppers have parts that snap or twist off. Gently pull or twist these to avoid damage. Remove any small pieces like pushers or handles. Set all parts on a clean surface for washing.
Separate Blades And Container
Handle the blades with care to avoid cuts. Most choppers have blades that lift or slide out. Remove the blades from the container slowly. Keep blades and container apart for better cleaning access. Check for stuck onion bits and rinse them under running water.
Rinse Loose Debris
Rinsing loose debris from your onion chopper is the first step in cleaning it effectively. Removing small food pieces prevents buildup and keeps the blades sharp. This step also makes deeper cleaning easier and more hygienic.
Use Running Water
Hold the onion chopper under running water. Let the water wash away loose bits of onion and other food. Use warm water to help break down sticky residue. Avoid using hot water to protect plastic parts.
Clear Food Particles
Check all parts carefully for trapped food pieces. Use your fingers or a soft brush to clear corners and blade areas. Make sure no debris remains, especially near blades. This helps stop odors and keeps the chopper ready for next use.
Soak In Soapy Water
Soaking your onion chopper in soapy water is a simple way to remove stuck-on bits and odors. It loosens food particles, making cleaning easier. This step saves time and keeps your chopper in good shape. Follow these easy actions to soak your onion chopper properly.
Fill Container With Warm Water
Start by filling a container with warm water. The water should be warm, not hot, to avoid damaging the chopper parts. Use enough water to fully cover all the pieces of your onion chopper.
Add Mild Dish Soap
Add a few drops of mild dish soap into the warm water. Mild soap helps break down grease and food residue gently. Stir the water lightly to mix the soap evenly throughout the container.
Soak All Parts
Place every part of the disassembled onion chopper into the soapy water. Ensure all pieces, including blades and lids, are submerged. Let them soak for 10 to 15 minutes to soften any stuck food.
Scrub Hard-to-reach Areas
Cleaning an onion chopper thoroughly requires attention to detail. Small spaces often trap onion bits and juices. These areas can cause odors or bacteria growth if left dirty. Scrubbing hard-to-reach areas ensures your chopper stays fresh and safe for use. Use the right tools to reach every nook and cranny.
Use Small Brushes Or Pipe Cleaners
Small brushes or pipe cleaners work well for tight spots. They fit into narrow gaps that regular sponges cannot reach. Dip the brush in warm, soapy water before scrubbing. Move the brush gently along the crevices to remove stuck food. These tools help clean without damaging the chopper parts. Repeat until no residue remains.
Clean Blade Crevices
Blade crevices hold tiny onion pieces and juice. Use a soft brush or pipe cleaner to clean here carefully. Avoid pressing too hard to prevent blade damage. Rinse blades under running water after scrubbing to wash away loosened debris. Dry blades thoroughly to prevent rust and keep them sharp. Keeping blade crevices clean boosts chopper performance and hygiene.
Handle Stubborn Residue
Stubborn residue on your onion chopper can be frustrating. Small bits often get stuck between blades and crevices. Removing these particles keeps your chopper clean and safe to use. Proper cleaning also extends the life of your kitchen tool. Use the right methods to handle tough residue without damaging the device.
Use Gentle Scrubbing Pads
Choose soft scrubbing pads made for kitchen use. They clean well without scratching the surface. Apply a mild dish soap to the pad for better results. Gently scrub the blades and container areas. Pay attention to corners and tight spots. This method loosens stuck bits without harming the chopper parts.
Avoid Abrasive Cleaners
Avoid harsh cleaning agents and steel wool. These can dull or damage the blades. Abrasive cleaners may also wear down plastic components. Stick to mild soap and water for best care. Using gentle products preserves your onion chopper’s quality. This keeps it working efficiently for a long time.
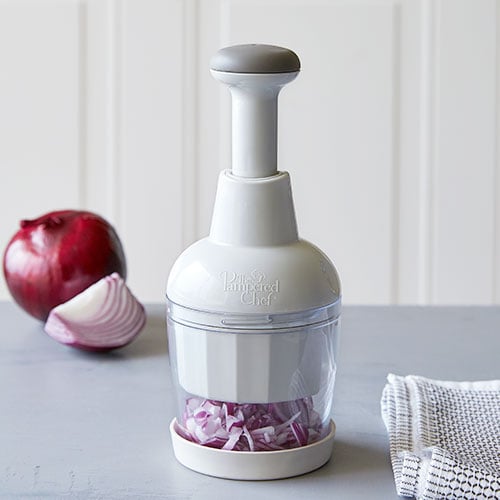
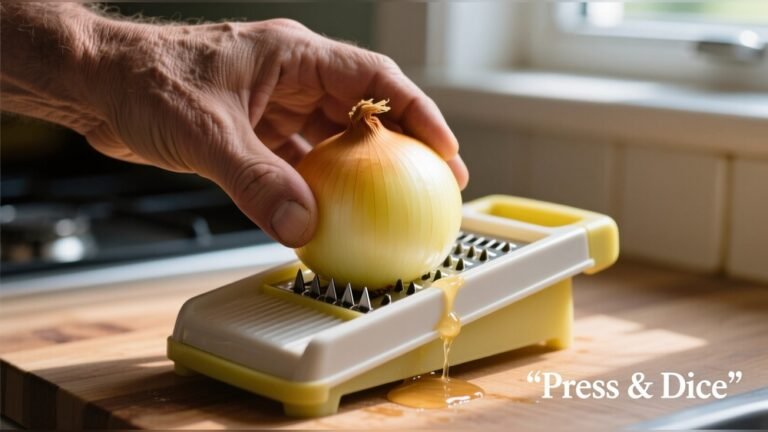
Credit: www.pamperedchef.com
Rinse And Dry Thoroughly
Rinsing and drying your onion chopper thoroughly prevents leftover moisture and soap. This step helps keep the chopper clean and ready for the next use. Proper rinsing removes all soap, while drying stops rust and bacteria growth. Follow these simple tips to care for your onion chopper well.
Remove Soap Residue
Rinse each part under warm running water. Make sure to clear all soap from blades and containers. Soap residue can affect the taste of your food. Use your fingers or a soft brush to reach tight areas. Check carefully to ensure no slippery soap remains.
Air Dry Or Towel Dry Parts
Let the parts air dry on a clean rack if time allows. Air drying prevents lint or fibers from sticking. Otherwise, use a soft, clean towel to dry each piece. Wipe gently, especially around sharp blades. Drying well stops water spots and rust from forming.
Reassemble And Store
After thoroughly cleaning your onion chopper, it is important to reassemble and store it properly. This step keeps the chopper ready for the next use and helps maintain its condition. Careful reassembly also ensures safety and functionality.
Lock Parts Securely
Align all parts carefully before locking them in place. Make sure each piece fits tightly. A secure lock prevents parts from coming loose during chopping. Check the blades and lid for a firm fit. This step avoids accidents and keeps the chopper stable.
Wrap Cords Neatly If Applicable
If your onion chopper has a power cord, wrap it neatly. Coil the cord without twisting or bending it sharply. Use built-in hooks or cord holders if available. Proper cord storage prevents damage and keeps your kitchen tidy. This practice extends the life of your appliance.

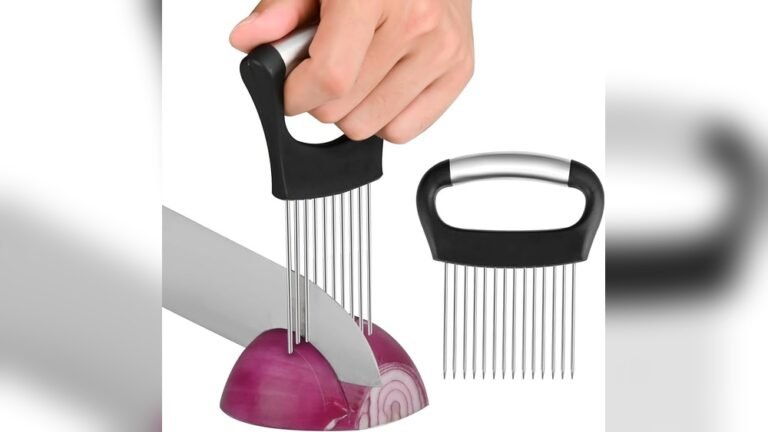
Credit: www.amazon.com
Tips For Blade Safety
Cleaning an onion chopper requires caution, especially around the sharp blades. Proper blade safety prevents injuries and keeps your kitchen tasks smooth. Follow these simple tips to handle the blades safely while cleaning.
Handle Blades Carefully
Always hold the blades by their edges, not the sharp cutting parts. Avoid rushing while cleaning to prevent slips or cuts. Use a soft brush or sponge to clean between the blades gently. Keep blades away from children and pets during cleaning. Place blades on a flat surface when not in use to avoid accidents.
Use Protective Gloves If Needed
Wear cut-resistant gloves for extra safety during cleaning. Gloves provide a secure grip and reduce the risk of cuts. They protect your hands from direct contact with sharp edges. Choose gloves that fit well to avoid losing control of the blades. Protective gloves make cleaning safer, especially for beginners.
Prevent Odors And Stains
Preventing odors and stains in your onion chopper keeps it fresh and clean for every use. Onion juices can leave strong smells and discolor plastic parts. Taking simple steps after chopping helps avoid buildup and extends the tool’s life.
Clean Immediately After Use
Rinse the chopper right after chopping onions. This stops smells from settling into the plastic. Remove all food bits from blades and corners. Use warm water and soap to wash every part thoroughly. Dry all pieces well before storing to prevent odor growth.
Use Lemon Or Vinegar Rinse
Lemon juice and vinegar work well to remove onion odors. After cleaning with soap, rinse the chopper with lemon juice or diluted vinegar. Let it sit for a few minutes to neutralize smells. Rinse again with water and dry completely. These natural rinses also help reduce stains on plastic.

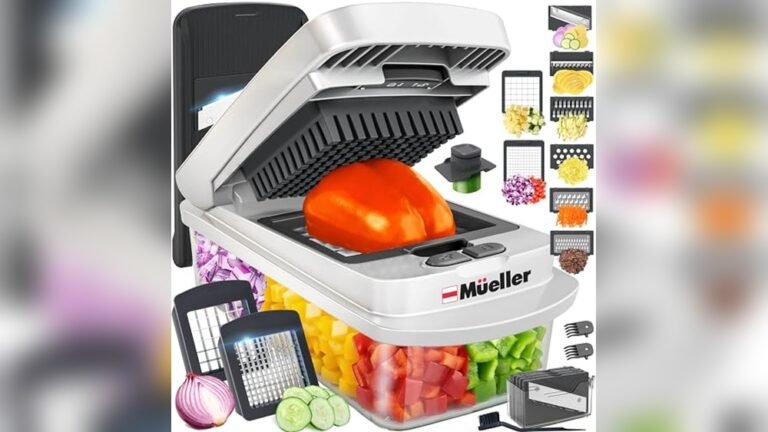
Credit: www.walmart.com
Frequently Asked Questions
How To Clean An Onion Chopper?
Disassemble the onion chopper carefully. Rinse off food debris under warm water. Soak parts in warm, soapy water for a few minutes. Use a brush to scrub blades and crevices gently. Rinse thoroughly and air dry before reassembling to prevent rust and odors.
How To Wash A Vegetable Chopper?
Disassemble the vegetable chopper. Rinse off loose food. Soak parts in warm, soapy water. Scrub blades gently with a brush. Rinse thoroughly and air dry before reassembling.
How To Clean A Mini Chopper?
Disassemble the mini chopper. Rinse all parts under warm water. Soak in soapy water briefly. Scrub blades gently. Dry completely before reassembling.
How To Clean The Slap Chop?
Remove the base cap and unlock the chopping chamber. Take out the food splash guard and blades. Rinse all parts with warm, soapy water. Use a brush for tight spots. Dry thoroughly before reassembling.
Conclusion
Cleaning your onion chopper regularly keeps it working well. Remove all parts and rinse off leftover bits. Use warm, soapy water to wash each piece carefully. Shake or scrub gently to remove stuck onion residue. Dry all parts thoroughly before reassembling.
This simple routine saves time and keeps your chopper fresh. A clean chopper helps you prepare meals faster and easier. Regular care also extends your chopper’s life. Keep your kitchen tools clean for better cooking results.