Corn Stripper Usage Guide Simple Steps for Fast and Clean Corn Removal
If you love fresh corn but dread the hassle of removing kernels from the cob, a corn stripper can be your new best friend. This handy tool makes the task quick, clean, and effortless—saving you time and frustration in the kitchen.
Whether you’re preparing a summer barbecue or a simple dinner, knowing how to use a corn stripper will change the way you handle corn forever. Ready to cut through the mess and enjoy perfectly stripped corn every time? Keep reading, and you’ll learn the simple steps to master this kitchen gadget with ease.
Choosing The Right Corn Stripper
Choosing the right corn stripper makes the task easier and cleaner. The perfect tool fits your needs and budget. It saves time and reduces mess. Some models work better for fresh corn, others for dried cobs. Knowing your options helps you pick the best one. Consider the type, material, and where to buy it.
Types Of Corn Strippers
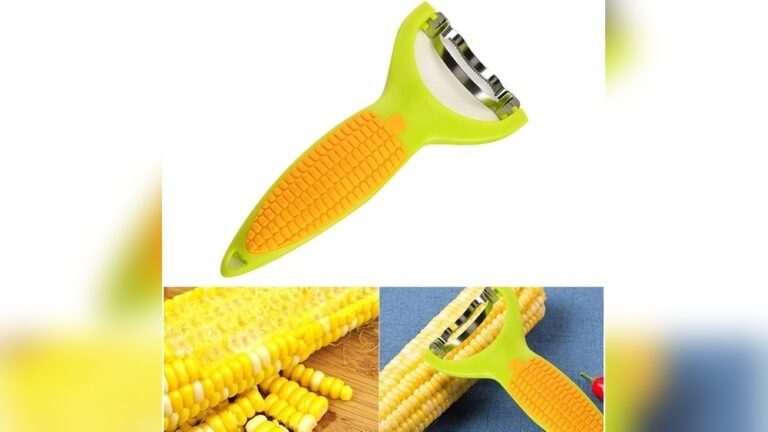
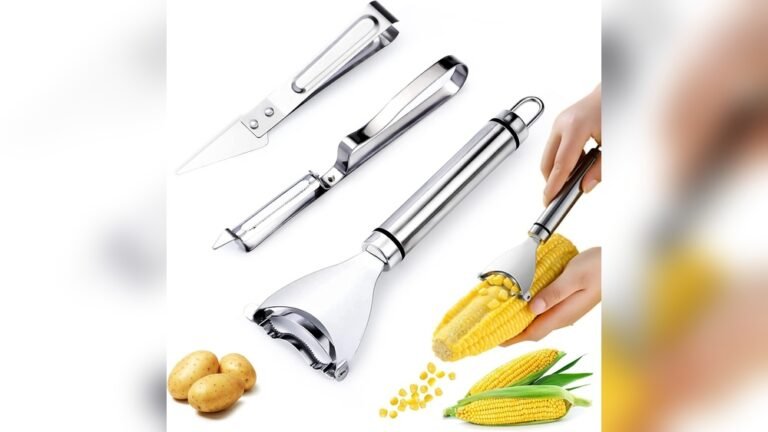
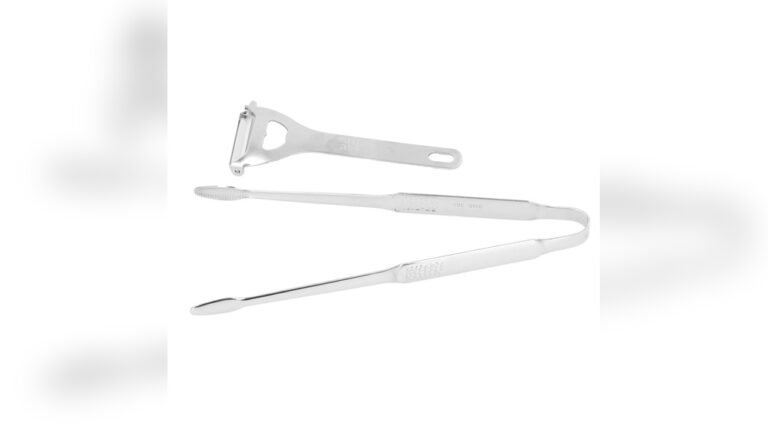
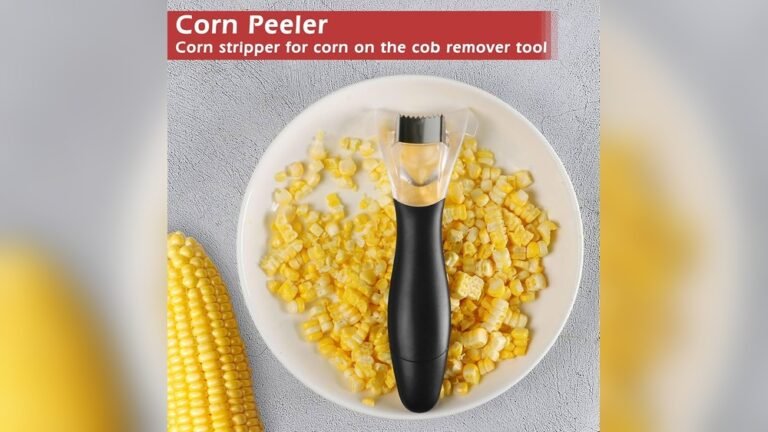
Corn strippers come in different styles. Handheld strippers are simple and affordable. They have a blade that cuts kernels off the cob. Electric strippers speed up the process for large batches. Some tools combine peeling and stripping in one. Choose based on how often and how much corn you strip.
Material And Design Features
Look for strong, food-safe materials like stainless steel or BPA-free plastic. Sharp blades make stripping smooth and quick. A comfortable handle reduces hand strain. Some strippers have a built-in catcher for kernels. Lightweight designs make them easier to use and clean.
Where To Buy
Corn strippers are available in many stores. Kitchen supply shops often stock quality options. Online retailers offer a wide variety and user reviews. Check local markets for unique or handmade tools. Compare prices and features before buying to get the best value.
Credit: nymag.com
Preparing Corn For Stripping
Preparing corn for stripping sets the stage for easy and efficient kernel removal. Proper preparation helps the corn stripper work smoothly and reduces waste. Follow simple steps to get fresh ears ready for stripping.
Selecting Fresh Corn
Choose corn ears with bright green husks and moist silk. Avoid dry or yellowing husks. Fresh corn has plump, firm kernels that strip cleanly. The fresher the corn, the sweeter and juicier the kernels.
Cleaning The Ears
Remove husks and silks carefully by hand. Rinse each ear under cool running water. Make sure to wash away all silk strands. Clean ears prevent clogging the corn stripper and improve hygiene.
Soaking Or Steaming Options
Soak ears in warm water for 10 to 15 minutes. This softens kernels and makes stripping easier. Alternatively, steam corn for 5 minutes to loosen kernels slightly. Either method helps produce neat, clean cuts without damage.
Step-by-step Stripping Process
The step-by-step stripping process is simple and quick. It helps you remove corn kernels cleanly without mess. Using a corn stripper saves time and effort in the kitchen. Follow these easy steps for the best results.
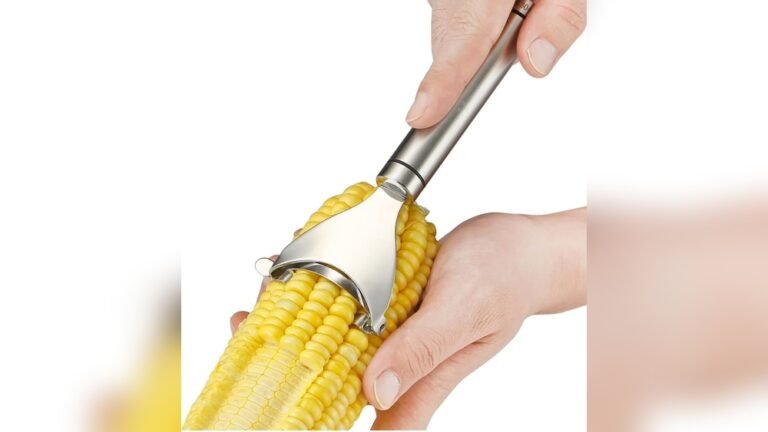
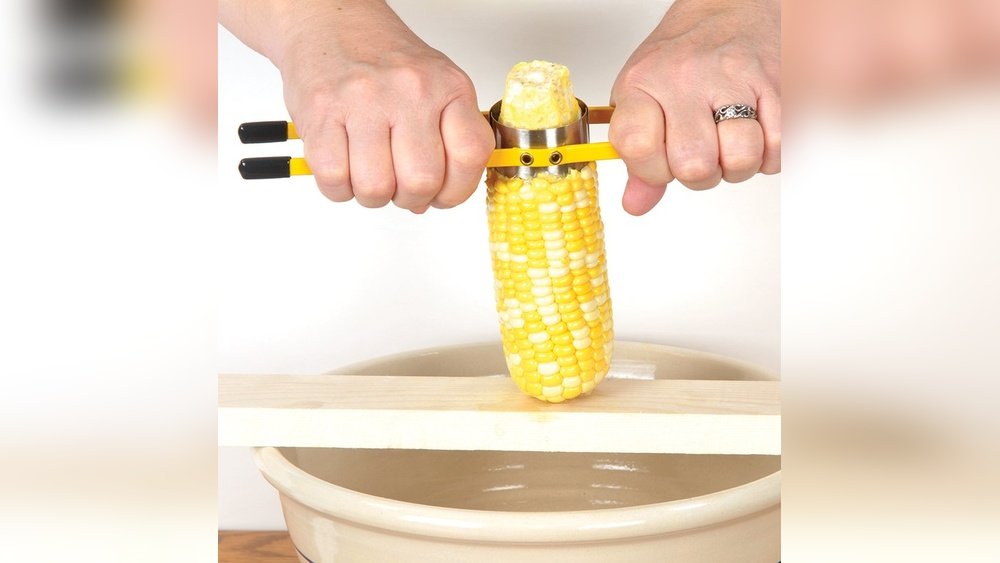
Positioning The Corn Stripper
Hold the corn cob firmly on a stable surface. Place the corn stripper at the top of the cob. Make sure the blade aligns with the kernels. This position allows smooth and even stripping.
Applying The Right Pressure
Press the corn stripper gently but firmly against the cob. Too little pressure leaves kernels behind. Too much pressure can damage the kernels or tool. Find a balance to strip kernels cleanly with ease.
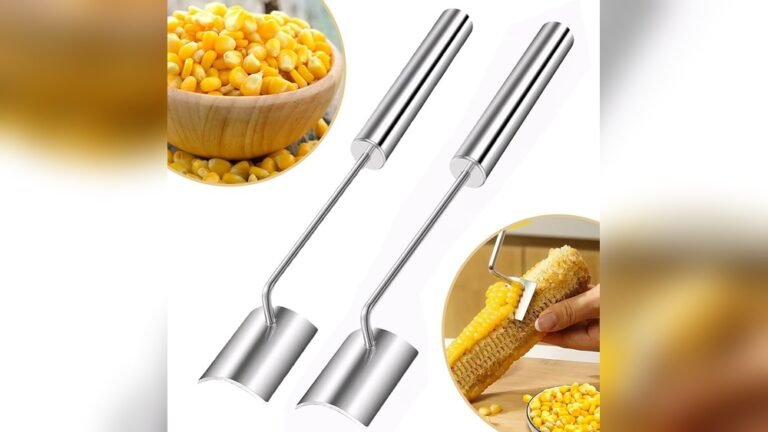
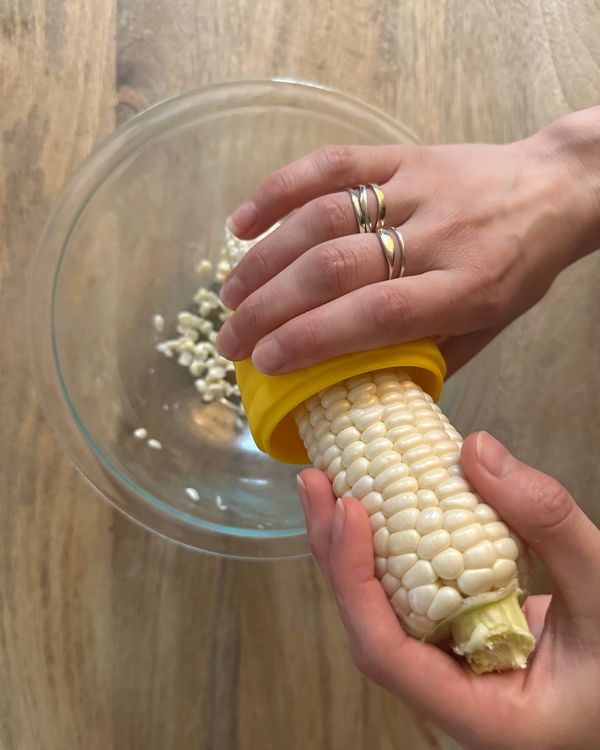
Removing Kernels Efficiently
Slide the stripper down the length of the cob in one motion. Keep the tool steady to avoid missing spots. Repeat the process until all kernels are removed. Collect the kernels in a bowl for cooking or snacking.

Credit: www.youtube.com
Quick Tips For Faster Harvesting
Harvesting corn quickly saves time and effort. Using a corn stripper efficiently helps speed up the process. These quick tips improve your harvesting speed and reduce waste. Follow simple steps to make your work smoother and faster.
Maintaining A Steady Rhythm
Keep a consistent motion while using the corn stripper. Avoid rushing or pausing too often. A steady rhythm helps strip kernels evenly and quickly. Practice the same speed to build muscle memory and efficiency.
Stripping Multiple Ears At Once
Hold several ears of corn together before stripping. This method reduces the number of times you need to adjust your grip. It speeds up the process by stripping more kernels in one go. Make sure the ears are aligned for easy stripping.
Minimizing Kernel Spillage
Work over a bowl or container to catch loose kernels. Tilt the corn stripper slightly downward to keep kernels inside. Handle the ears gently to avoid shaking kernels loose. Clean your workspace regularly to collect dropped kernels quickly.
Cleaning And Maintaining Your Corn Stripper
Proper cleaning and maintenance keep your corn stripper working well for years. Dirt and corn residue can build up after use. This buildup reduces the tool’s efficiency and may cause damage.
Regular care prevents rust and keeps the blades sharp. A clean corn stripper also stays hygienic for food preparation. Follow simple steps to clean, store, and maintain your tool.
Post-use Cleaning Methods
Rinse the corn stripper under warm water right after use. Remove any stuck kernels or husk pieces with a soft brush. Avoid harsh scrubbers that can scratch the surface. Dry the tool completely with a clean cloth to stop rust from forming.
For stubborn residue, soak the stripper in warm soapy water for a few minutes. Then brush gently and rinse again. Never leave the tool wet or dirty for long periods.
Storage Recommendations
Store your corn stripper in a dry, cool place. Avoid damp or humid areas that cause rust. Use a protective cover or wrap it in a cloth to keep dust off. Keep it away from heavy objects that might bend or damage the blades.
Place the tool in a kitchen drawer or hang it on a hook. Proper storage extends the life of your corn stripper.
Sharpening And Repair Tips
Check the blades regularly for dullness or damage. Use a small sharpening stone or tool to keep blades sharp. Sharpen slowly and carefully to avoid cutting yourself. If a blade is bent or broken, replace it if possible.
Lubricate moving parts with food-safe oil to keep them working smoothly. Tighten any loose screws or handles. Well-maintained blades make stripping corn easier and safer.

Credit: www.chefn.com
Common Mistakes To Avoid
Using a corn stripper can make removing kernels quick and easy. Avoiding common mistakes improves your experience and saves time. Pay attention to how you handle the tool and the corn for best results.
Using Excessive Force
Pressing too hard can damage the cob and the tool. A gentle but firm grip works best. Let the stripper do the work, not your strength. Excessive force may cause uneven kernel removal and increase the risk of injury.
Ignoring Kernel Quality
Do not use the stripper on poor-quality or dried-out corn. Fresh, firm kernels strip more cleanly and easily. Old or damaged corn may cause the tool to jam or skip. Check the corn before starting to ensure smooth stripping.
Neglecting Tool Maintenance
Cleaning the corn stripper after each use keeps it sharp and effective. Residue buildup dulls the blades and reduces performance. Dry the tool thoroughly to prevent rust. Regular maintenance extends the life of your corn stripper.
Alternative Uses For Corn Strippers
Many people buy corn strippers just to remove kernels from corn cobs. This handy tool has other useful purposes too. Its design makes it perfect for tasks beyond corn. Using your corn stripper for different jobs can save time and effort in the kitchen and craft room.
Removing Other Vegetable Kernels
Corn strippers work well on vegetables with kernels or seeds. Use them on peas or beans still on the pod. They help remove kernels from squash varieties like zucchini and pattypan. The tool carefully strips kernels without damaging the vegetable. This method is faster than cutting each kernel by hand. It also reduces waste, leaving more edible parts intact.
Craft And Diy Projects
Corn strippers have a unique shape that fits many craft needs. Use one to carve soft materials like clay or soap. Its sharp edge helps create detailed designs. Artists can use it to remove thin layers for texture. The tool also works for scraping paint or glue from surfaces gently. Its compact size makes it easy to handle during small projects. A corn stripper is a useful addition to any DIY toolkit.
Frequently Asked Questions
How To Use The Corn Remover?
Wash and dry the corn area thoroughly. Apply the remover liquid or medicated patch directly on the corn. Let it dry fully. Use a protective patch for cushioning if needed. Avoid contact with healthy skin and follow product instructions carefully for best results.
Is There A Trick To Getting The Silk Off Of Corn?
To remove corn silk quickly, shake the ear firmly or rub it with a damp cloth. Using a soft brush also helps.
How To Use Corn Strips?
Clean and dry the corn area thoroughly. Apply the corn strip directly onto the corn, ensuring firm adhesion. Leave it on as per product instructions. Remove the strip gently and repeat if needed. Avoid contact with healthy skin to prevent irritation.
What Is The Best Method For Corn Removal?
The best corn removal method softens skin by soaking, gently files with a pumice stone, and applies urea or lactic acid creams daily. Medicated patches can also effectively treat corns when applied correctly. Avoid use if skin is broken or if you have diabetes.
Conclusion
Using a corn stripper makes removing kernels quick and easy. Hold the tool firmly and slide it down the cob. This method saves time and reduces mess. Always clean the corn before stripping for best results. Practice a few times to get comfortable with the motion.
Enjoy fresh corn without the hassle of manual cutting. Simple steps bring better cooking prep every time. Keep your corn stripper handy for quick kitchen tasks.