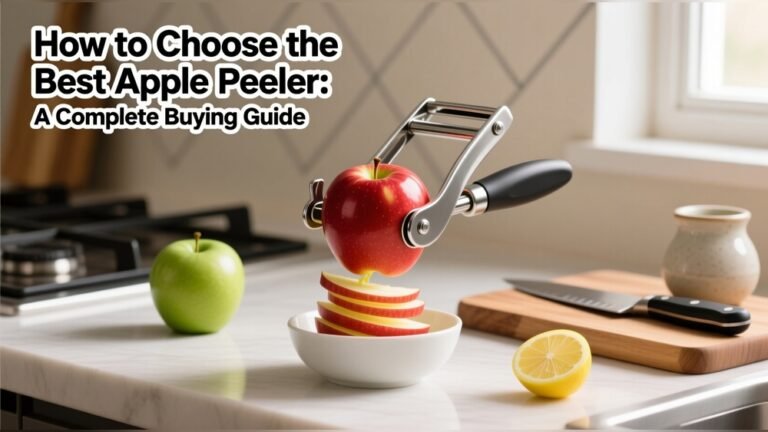
How to Use Apple Corer for Perfect Apple Slices
Are you tired of wrestling with apples when all you want is a quick, clean slice? Using an apple corer can change the way you prepare your fruit, making the task faster, easier, and even more enjoyable.
Whether you’re baking a pie, making a healthy snack, or prepping for a salad, mastering this simple tool will save you time and effort. In this guide, you’ll learn exactly how to use an apple corer step by step, so you can get perfect cores every time without any hassle.
Ready to make your kitchen routine smoother and more efficient? Let’s dive in and unlock the full potential of your apple corer!
Apple Corer Types
Apple corers come in different styles to suit various needs. Choosing the right type helps you core apples faster and easier. Each type has unique features for simple or multi-task use.
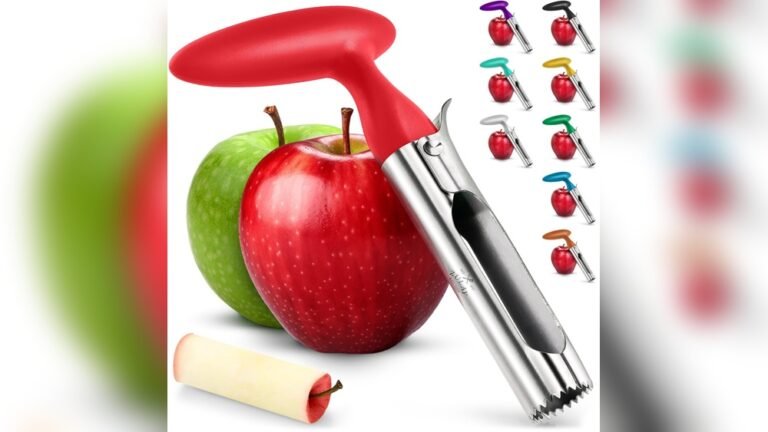
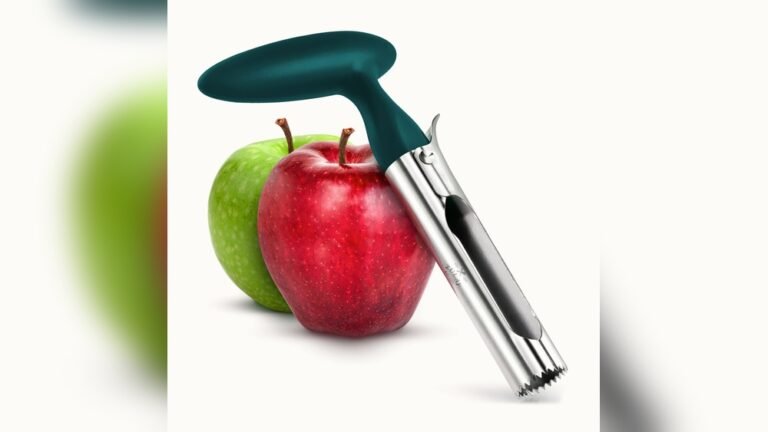
Simple Press-down Corer
This corer has a round blade that you push down through the apple. It cuts out the core in one quick motion. The handle gives good grip and control. It is perfect for quick coring without peeling or slicing.
Peeler, Corer, And Slicer Combo
This tool does three jobs at once. It peels the skin, removes the core, and slices the apple evenly. Turn the crank handle to start the process. It saves time and effort when preparing many apples. Great for pies or snacks with less work.
Preparing Apples
Preparing apples is the first step for easy coring and slicing. Clean and stable apples make the process smoother. Proper preparation helps the apple corer work efficiently and safely. Follow simple steps to get your apples ready for coring.
Rinsing And Drying
Rinse each apple under cool running water. This removes dirt, pesticides, and residues. Use your hands to gently rub the surface. After rinsing, dry the apples with a clean towel. Dry apples help the corer grip better and prevent slipping.
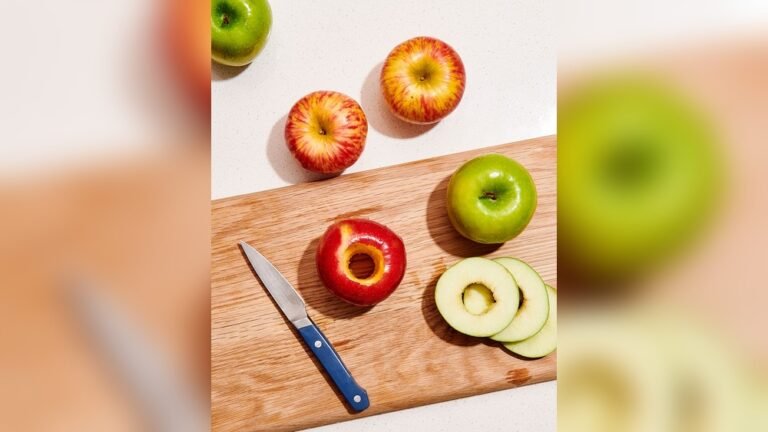
Flattening Tops And Bottoms
Place the apple on a cutting board. Use a sharp knife to slice a thin layer off the top and bottom. This creates flat surfaces that keep the apple steady. Flat tops and bottoms stop the apple from rolling during coring. It also helps the corer go straight through the apple’s center.
Using A Simple Corer
Using a simple apple corer makes removing the core fast and easy. This tool fits over the apple’s stem and cuts out the tough core in one move. It saves time and keeps the apple intact for cooking or snacking. Follow these steps to use your corer correctly.
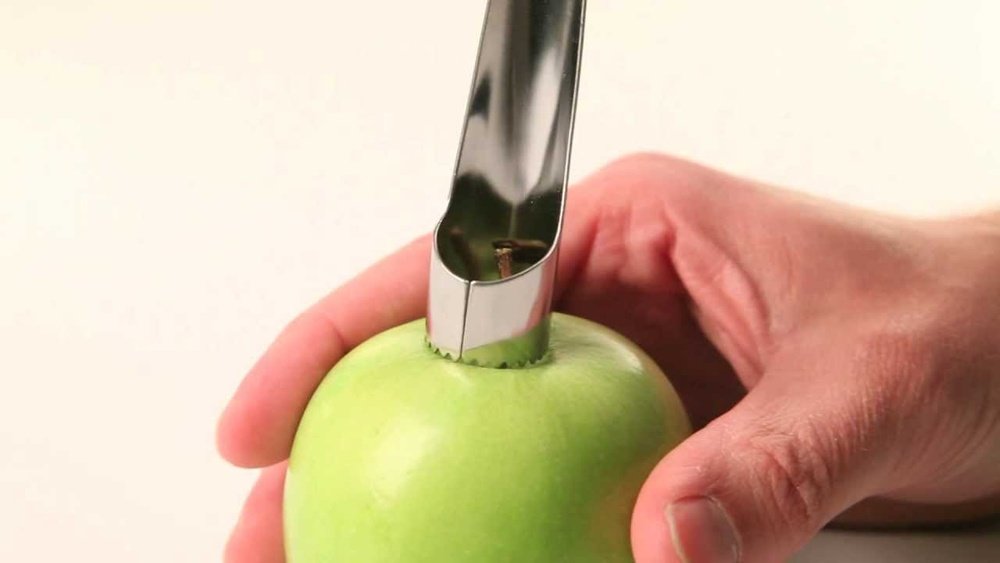
Positioning The Corer
Hold the apple steady on a flat surface. Place the corer directly over the apple’s stem. Make sure the corer is straight and centered. This helps remove the entire core cleanly. Proper positioning prevents wasting apple flesh.
Pressing And Twisting
Press the corer down firmly into the apple. Use steady pressure to push it through the fruit. Once it reaches the bottom, twist the corer slowly. The twisting motion cuts the core free inside the apple. Avoid forcing it to keep the apple whole.
Removing The Core
Pull the corer straight out of the apple carefully. The core stays inside the hollow tube of the corer. Tap the corer on a trash bin or compost to release the core. Check the apple for any leftover seeds or bits. Your apple is now ready to slice or eat.
Cleaning Stubborn Bits
Sometimes bits of apple stick inside the corer tube. Use a small brush or toothpick to remove them. Rinse the corer under running water after each use. Dry it well to keep the tool clean and rust-free. Proper cleaning helps the corer work smoothly every time.

Credit: www.youtube.com
Using A Peeler-corer-slicer
Using a peeler-corer-slicer simplifies apple preparation. This handy tool peels the skin, removes the core, and slices the apple quickly. It saves time and effort, especially when cooking or baking. Follow these simple steps to use it correctly and get perfect apple slices every time.
Mounting The Apple
Place the apple on the prongs of the peeler-corer-slicer. Ensure the stem faces upward. The apple should be centered and secure. This helps the tool work smoothly without slipping.
Adjusting Blades
Check the blades before starting. Adjust the peeling blade if the skin is thick or thin. Set the coring blade to match the apple size. Proper blade adjustment avoids waste and uneven slices.
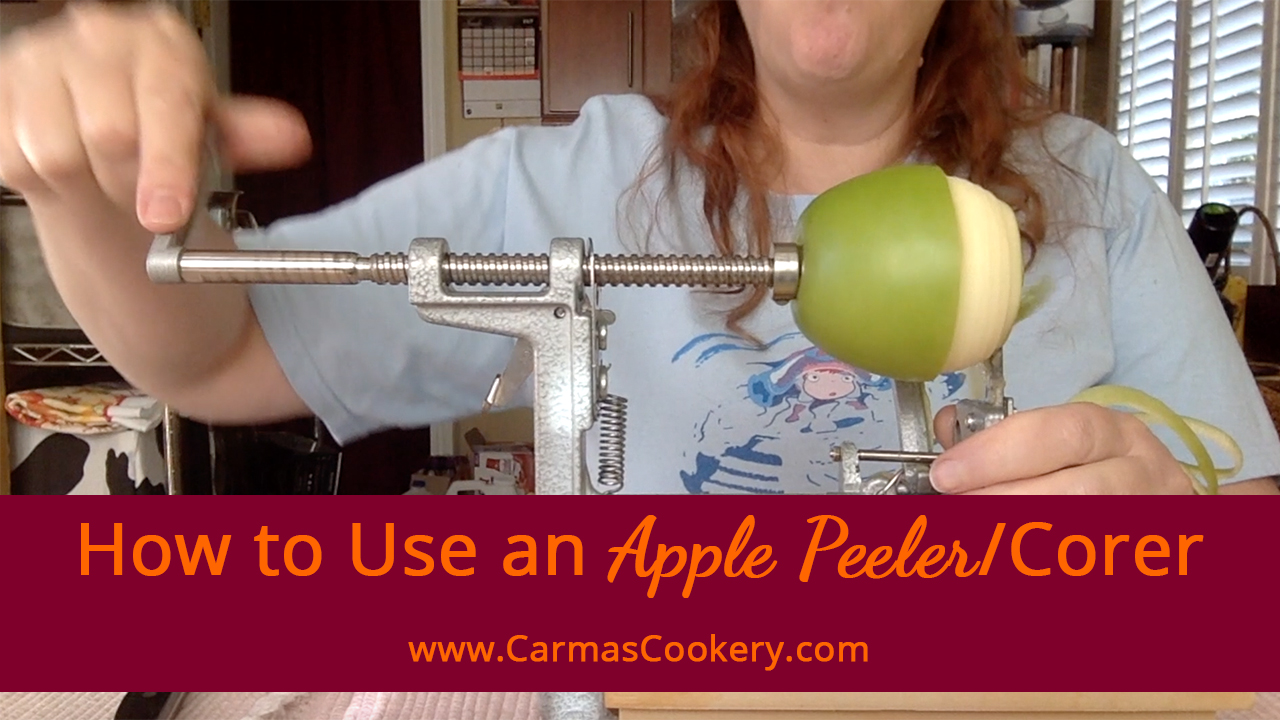
Cranking The Handle
Hold the tool steady with one hand. Turn the handle slowly with the other. The apple will peel, core, and slice as you turn. Keep a steady pace for even results.
Removing The Spiral Slices
Once done, carefully pull the apple off the prongs. The apple will come out in a spiral shape. Separate the slices gently. Now, your apple is ready to eat or cook.
Tips For Perfect Slices
Getting perfect apple slices starts with a few simple steps. Using an apple corer correctly can make slicing quicker and cleaner. These tips help you slice apples evenly and reduce mess. Follow them for better results every time you use your apple corer.
Choosing The Right Apple
Pick apples that are firm and fresh. Soft or bruised apples do not slice well. Crisp apples hold their shape and give clean slices. Varieties like Granny Smith, Fuji, or Honeycrisp are good choices. Avoid apples with spots or wrinkles.
Core Removal Before Peeling
Remove the core before peeling the apple. This keeps the apple stable while peeling. It also prevents the peel from tearing the flesh. Use the corer by pressing firmly and twisting it down to the bottom. Pull out the core in one smooth motion.
Avoiding Waste
Use the corer size that fits your apple. A perfect fit means less wasted fruit. Cut slowly and gently to keep slices intact. Save apple peels and cores for compost or recipes. This way, you get the most out of every apple.

Credit: www.amazon.com
Cleaning And Maintenance
Proper cleaning and maintenance keep your apple corer in top shape. A clean tool works better and lasts longer. Dirt and juice residues can cause rust or damage. Follow simple steps to care for your apple corer after each use.
Disassembling The Tool
Start by carefully taking apart any removable parts. Most apple corers have blades or handles that detach. Check the manufacturer’s guide for safe disassembly. Avoid forcing parts to prevent bending or breaking.
Washing And Drying
Wash each part with warm, soapy water. Use a soft brush to clean tight spots and blades. Rinse thoroughly to remove all soap. Dry every piece completely with a clean towel. Air drying helps prevent moisture buildup and rust.
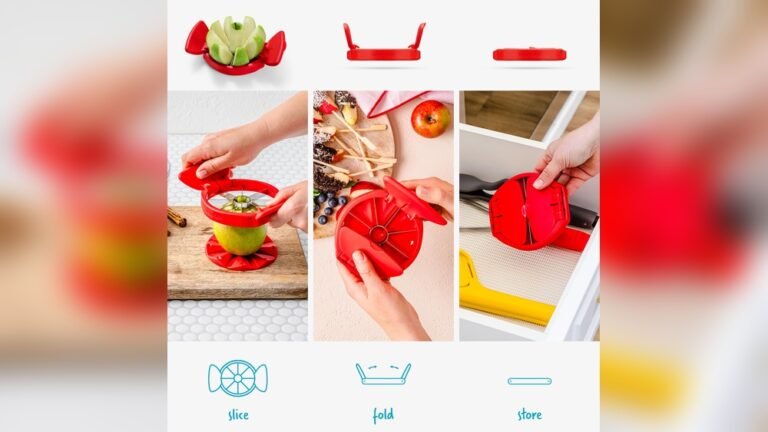
Storage Suggestions
Store your apple corer in a dry place away from humidity. Keep it in a protective case or wrapped in cloth. Avoid stacking heavy items on top to protect the blades. Regularly check the tool for signs of wear or damage before use.
Creative Uses For Cored Apples
Cored apples open many fun and useful possibilities. Removing the core creates a perfect space for fillings or decorations. It also makes apples easier to eat and cook with. This simple step can transform apples into creative treats and dishes. Explore some great ideas to use cored apples in cooking, decorating, and snacks.
Baking And Cooking
Cored apples work well for baked dishes. Fill the hollow center with cinnamon and sugar. Bake for a warm, sweet dessert. Use cored apples in pies and tarts to save prep time. They cook evenly and hold fillings nicely. Try stuffing apples with nuts and raisins for a tasty treat. Cored apples also fit well in savory recipes. Stuff them with cheese or herbs before baking. They add flavor and look appealing on the plate.
Decorative Presentations
Cored apples can create beautiful food displays. Place small candles inside for a natural lantern effect. Use apple rings or slices for colorful garnishes. Fill the core space with edible flowers or herbs. These add a fresh, vibrant touch to any dish. Cored apples also work well in fruit arrangements. They add shape and interest without waste. Present apples this way for parties or special meals.
Kid-friendly Snacks
Cored apples make fun, healthy snacks for kids. Fill the center with peanut butter or yogurt for protein. Add small fruits or chocolate chips for extra flavor. Kids enjoy the interactive eating experience. The apple shape and filling keep snacks neat and tasty. Cored apples are easy to hold and less messy. They encourage healthy eating habits with simple, fun steps.
Credit: www.carmascookery.com
Frequently Asked Questions
How Do I Use My Apple Corer?
Place the apple corer over the stem, press down firmly, twist to cut through, then pull out to remove the core.
What Is The Best Way To Core An Apple?
Center the apple corer over the stem, press down firmly, twist until it reaches the bottom, then pull out to remove the core.
Should You Peel Or Core An Apple First?
Core the apple first using a corer to remove seeds efficiently. Then peel to avoid leftover skin on top or bottom. This method saves time and reduces waste.
What Do You Use To Remove The Core Of An Apple?
Use an apple corer tool by centering it over the stem, pressing down firmly, twisting, and pulling it out to remove the core.
Conclusion
Using an apple corer makes apple preparation quick and simple. It removes the core cleanly, saving time and effort. This tool works well for snacks, baking, or cooking. Practice a few times to get comfortable with the twisting motion. Clean your corer after each use to keep it sharp and ready.
Enjoy perfectly cored apples every time with this easy method. Simple steps lead to great results in the kitchen.

Hi, I’m Emma Carter, a passionate home cook with over 12 years of hands-on experience in home kitchens. I love testing kitchen tools, trying new recipes, and helping everyday cooks make smarter buying decisions. Every review and guide I write is based on real cooking experience, practical testing, and honest opinions, not marketing claims.