How to Clean Hidden Grease From an Air Fryer Fast & Easy
Cleaning an air fryer can feel easy, but hidden grease often stays deep inside. This grease can make your food taste strange, cause smoke, and even damage your air fryer over time. Many people only clean the basket and tray, but grease builds up in places you can’t see, like under the heating element, in tiny vents, and along the fan.
Knowing how to clean these hidden areas keeps your air fryer working better and your food healthier.
If you’ve noticed a strange smell, smoke, or sticky residue after using your air fryer, you’re probably dealing with hidden grease. Cleaning these areas isn’t just about looks. It’s about safety and performance. In this article, you’ll learn step-by-step how to reach and clean hidden grease from your air fryer, which tools help the most, and how to avoid common mistakes.
Whether you use your air fryer daily or once a week, understanding this process helps you cook with confidence and keep your appliance running smoothly.
Why Hidden Grease Is A Problem
Grease buildup isn’t just ugly, it can cause real trouble. When grease collects in hidden parts, it acts like a magnet for dust and old food particles. This mixture creates a sticky mess that is hard to remove. Over time, it can:
- Cause a burnt smell every time you use the air fryer.
- Lead to smoke or excessive steam during cooking.
- Make your food taste strange or bitter.
- Affect the heating efficiency, making your air fryer less effective.
- Increase the risk of fire if the grease gets too hot.
Studies show that air fryers with regular deep cleaning last longer and have fewer mechanical problems. In a survey by Consumer Reports, 62% of air fryer owners said their appliance performed better after thorough cleaning, especially in hidden spots.
Where Grease Hides In Your Air Fryer
Air fryers come in many shapes and sizes, but most have similar parts where grease can hide:
- Heating Element: Usually near the top, often covered by a protective shield.
- Fan Housing: Grease can splatter and stick to the fan blades and casing.
- Vents and Crevices: Small holes and seams where grease slips in but is hard to reach.
- Behind the Basket Rails: Areas where the basket slides in, often overlooked.
- Under the Basket Tray: The space between the tray and the bottom wall.
Here’s a comparison of where grease typically builds up in different air fryer types:
| Air Fryer Type | Main Grease Areas | Cleaning Difficulty |
|---|---|---|
| Basket Style | Basket rails, under tray, heating element | Medium |
| Oven Style | Fan, vents, rack guides | High |
| Toaster Oven Hybrid | Fan, walls, tray edges | High |
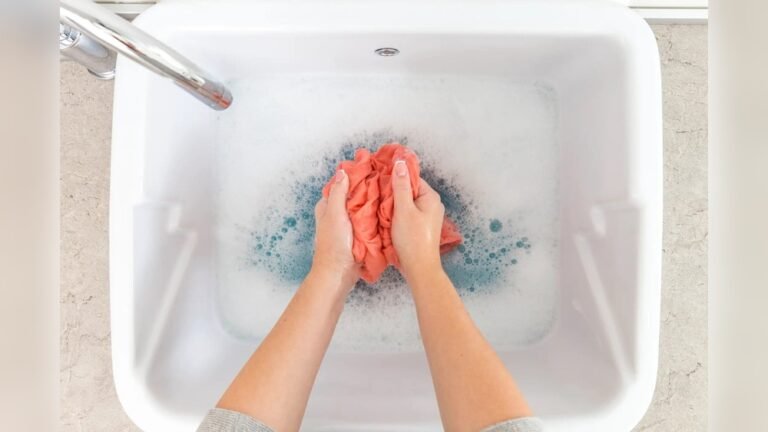
Many people miss these areas because they’re not visible during quick cleaning. If you’ve never looked under the heating element or inside the vents, you’re likely missing grease that could cause trouble.

Credit: www.netmums.com
Tools And Supplies You’ll Need
Deep cleaning your air fryer doesn’t require expensive tools, but having the right supplies makes the job faster and safer.
- Soft brush: Like a toothbrush or small bottle brush, for scrubbing small areas.
- Microfiber cloths: For wiping surfaces without scratching.
- Wooden or plastic spatula: Helps gently scrape stuck-on grease.
- Dish soap: Cuts through grease but is gentle enough for air fryer materials.
- White vinegar: Works well for stubborn stains or odors.
- Cotton swabs: Good for cleaning vents and tight corners.
- Compressed air can: Blows dust and loose particles from the fan or vents.
- Screwdriver: Only if your air fryer’s heating element can be removed safely (check your manual).
- Gloves: Protect your hands from hot water or cleaning chemicals.
Some air fryers allow parts to go in the dishwasher, but hidden grease usually stays behind. Manual cleaning is needed for these deep areas.
Step-by-step Guide To Cleaning Hidden Grease
Cleaning hidden grease is more than washing the basket. Follow these steps to reach every spot and make your air fryer truly clean.
1. Unplug And Cool Down
Always unplug your air fryer and let it cool completely before cleaning. This keeps you safe from electrical shock and hot surfaces.
2. Remove All Removable Parts
Take out the basket, tray, and any racks or inserts. Wash these separately with warm soapy water. Use a brush to scrub away visible grease, then dry with a microfiber cloth.
3. Inspect Hidden Areas
Look inside the air fryer with a flashlight. Check under the heating element, around the fan, and in vents. If your air fryer lets you remove the heating element, do this carefully. If not, do not force it.
4. Clean Under The Heating Element
Dip a soft brush in warm soapy water and gently scrub under the heating element. If grease is thick, mix equal parts white vinegar and water, dip the brush, and scrub again. Dry with a cloth.
5. Clean The Fan Area
Use compressed air to blow dust and loose grease from the fan. For sticky spots, use a cotton swab dipped in soap solution. Avoid soaking the area—air fryers have electrical parts.
6. Scrub Vents And Crevices
Insert a cotton swab or small brush into vents and seams. Move gently to avoid scratching. For hard-to-reach spots, wrap a microfiber cloth around a spatula.
7. Wipe Down Interior Surfaces
Use a damp cloth with dish soap to wipe all interior surfaces. Rinse the cloth, then wipe again to remove soap residue.
8. Dry Thoroughly
Moisture can cause electrical problems. Dry every part with a clean cloth. Leave the air fryer open for 30–60 minutes before reassembling.
9. Reassemble And Test
Put all parts back. Plug in the air fryer and run it empty for 2–3 minutes. If you smell burning, repeat cleaning the hidden areas.
Practical Tips For Easier Cleaning
Cleaning hidden grease doesn’t have to be hard. These tips make the process easier and prevent buildup.
- Clean hidden areas every 10–12 uses—not just when you see smoke.
- Use liners for your air fryer basket to catch drips and reduce grease.
- Avoid cooking fatty foods back-to-back without cleaning.
- Never use metal tools—they scratch surfaces and make grease stick more.
- If your air fryer manual allows, use a small amount of vinegar to clean the heating element monthly.
A common mistake is thinking dishwasher-safe means fully clean. Most dishwashers cannot reach hidden areas, so manual cleaning is still needed.
How Often Should You Clean Hidden Grease?
Frequency depends on how much you use your air fryer and what you cook. Here’s a simple guide:
| Usage Frequency | Recommended Cleaning Interval | Grease Risk |
|---|---|---|
| Daily | Every week | High |
| Several times a week | Every 2 weeks | Medium |
| Once a week | Every month | Low |
If you cook fatty foods like bacon, chicken wings, or cheese, clean hidden areas more often. For low-fat foods, once a month may be enough.
Non-obvious Insights For Better Cleaning
Many people miss these details when cleaning their air fryer:
- Grease can travel: When hot air circulates, grease moves and sticks far from the food. Always check corners and the top near the fan.
- Vents affect taste: Grease inside vents changes airflow and can make food less crispy.
- Fan blades matter: Dirty fan blades can spread old grease every time you cook, affecting taste and smell.
- Heating element shields: Some air fryers have removable shields. If yours does, remove and clean the shield for deep cleaning.
These insights help you target the real problem areas, not just what you can see.
What To Avoid When Cleaning
Some cleaning mistakes can damage your air fryer or make grease worse:
- Never use abrasive cleaners or steel wool—they scratch surfaces.
- Don’t soak electrical parts.
- Avoid spraying cleaner directly onto the fan or heating element.
- Do not force parts to open. If the manual says not to remove the heating element, follow instructions.
- If you use vinegar, dilute it. Pure vinegar can damage coatings.
If you’re unsure, check your user manual or contact the manufacturer.

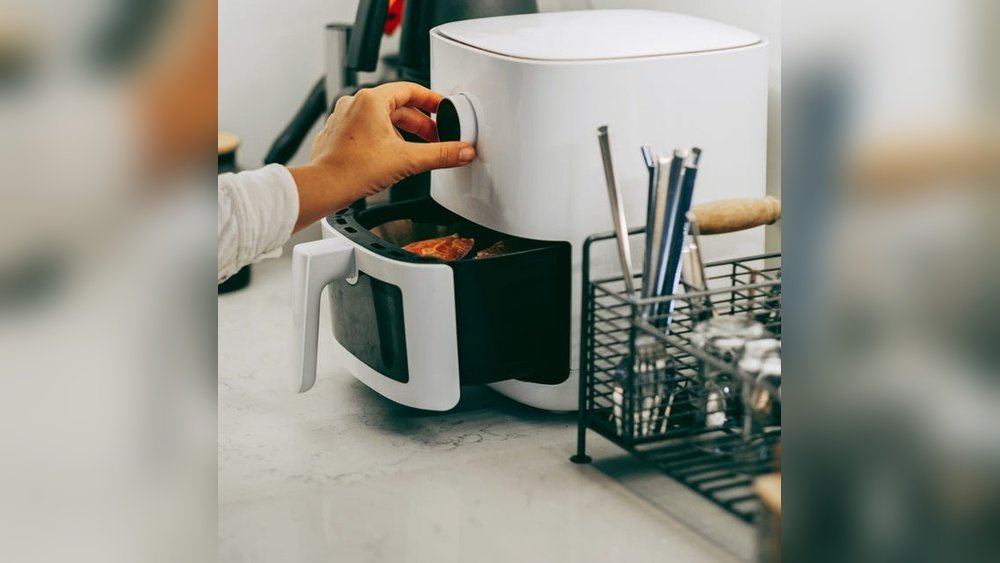
Credit: smarthelperguides.com
Example: Deep Cleaning Routine For A Basket Air Fryer
Let’s walk through a real example, step by step:
- Unplug and let the air fryer cool for 30 minutes.
- Remove the basket and tray. Wash with warm soapy water, scrubbing grease.
- Use a flashlight to look under the heating element and inside the vents.
- Dip a toothbrush in vinegar solution, scrub under the heating element.
- Use a cotton swab for vents. Wipe inside with a cloth.
- Dry all parts thoroughly.
- Reassemble and run the air fryer for 2 minutes empty to check for smells.
This routine takes about 20–30 minutes and reaches grease that most people miss.
How Hidden Grease Impacts Air Fryer Performance
Hidden grease isn’t just a cleaning issue—it changes how your air fryer works. When grease blocks vents or covers the heating element, air circulation slows down. This means:
- Food cooks unevenly.
- Less crispiness.
- Longer cooking times.
- Strange smells and smoke.
A study by the National Kitchen & Bath Association found that appliances with regular deep cleaning cook 15% faster and last up to 30% longer.
Comparing Cleaning Methods
Different cleaning methods remove grease at different levels. Here’s a comparison:
| Cleaning Method | Effectiveness | Time Required | Risk of Damage |
|---|---|---|---|
| Dishwasher | Low (misses hidden grease) | 10 minutes | Low |
| Manual Scrubbing | High (reaches hidden areas) | 20–30 minutes | Medium (if not careful) |
| Compressed Air | Medium (removes dust, loose grease) | 5 minutes | Low |
| Vinegar Solution | High (breaks down stubborn grease) | 10–20 minutes | Medium (must dilute) |
Manual scrubbing with the right tools gives the best results, especially when combined with a vinegar solution.
Preventing Hidden Grease Buildup
Keeping grease from building up makes cleaning easier. Try these prevention methods:
- Use parchment liners in the basket to catch drips.
- Wipe interior surfaces after every use, even if they look clean.
- Don’t overfill the basket—crowded food means more splatter.
- Cook fatty foods with care. Clean the air fryer after foods like bacon or cheese.
For more tips on appliance care, visit Consumer Reports.
:max_bytes(150000):strip_icc()/faw-one-off-how-to-degrease-air-fryer-writer-to-pitch-tout-586a4d74378e406caa9e15101e0e0b23.jpg)
Credit: www.foodandwine.com
Safety Considerations
Cleaning hidden grease means working near electrical parts. Always:
- Unplug the air fryer before starting.
- Let it cool completely.
- Avoid water near electrical connections.
- Wear gloves if using vinegar or strong soap.
- Dry all parts before reassembling.
If you ever see exposed wires or broken parts, stop cleaning and contact the manufacturer.
Frequently Asked Questions
How Do I Know If My Air Fryer Has Hidden Grease?
If you notice smoke, strange smells, or sticky residue after cooking, hidden grease is likely the cause. Use a flashlight to check under the heating element, inside vents, and around the fan.
Can I Use The Dishwasher To Clean Hidden Grease?
Dishwashers clean removable parts, but hidden grease stays in places the dishwasher can’t reach. Manual cleaning is needed for the heating element, fan, and vents.
Is Vinegar Safe For Cleaning My Air Fryer?
Yes, but always dilute vinegar with water (equal parts). Pure vinegar can damage coatings and metal. Use a soft brush or cloth for application, and rinse afterward.
How Often Should I Clean Hidden Grease?
Clean hidden grease every 10–12 uses or after cooking especially fatty foods. For daily use, aim for weekly cleaning. For light use, monthly is usually enough.
What Tools Work Best For Hidden Grease?
A soft brush, microfiber cloth, cotton swabs, and compressed air are best. Avoid metal tools and abrasive cleaners. Use a diluted vinegar solution for tough stains.
Cleaning hidden grease from your air fryer keeps your food tasting fresh, improves cooking, and extends the life of your appliance. With the right tools and routine, you can reach every spot and avoid common mistakes. Take time to clean hidden areas, and your air fryer will reward you with better meals and lasting performance.