Separator Egg for Bake | Everything Beginners Need to Know
Baking often calls for separating eggs, a task that seems simple but can make or break your recipes. Many new bakers worry about getting yolks in their whites or wasting eggs. That’s where a separator egg tool comes in. This small kitchen gadget helps you separate yolks from whites quickly and cleanly, making your baking easier and more reliable.
Egg separation matters for many baked goods, like meringues, cakes, and soufflés. If you’re confused about which separator to buy, how to use it, or why it matters, you’re not alone. This article will guide you through everything: how separator eggs work, their benefits, step-by-step usage, buying tips, mistakes to avoid, and answers to common questions. Whether you’re baking for fun or aiming for perfect cakes, you’ll find practical advice here.
Why Separating Eggs Matters In Baking
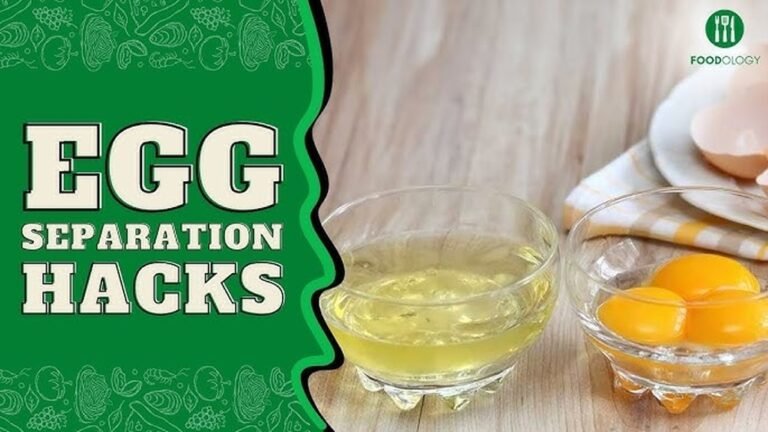
Many recipes require egg whites or egg yolks only. For example, angel food cake needs pure whites, while custard uses only yolks. The separation process affects the texture, flavor, and appearance of your baked goods.
Egg whites give lightness and volume, especially for meringues and soufflés. Even a small bit of yolk can ruin the foam. Yolks add richness and color to cakes, cookies, and sauces. If you mix them incorrectly, your results may be dense, greasy, or flat.
Using a separator egg tool keeps whites and yolks apart, reducing mistakes and waste. It’s much easier and faster than using your hands or eggshells.
What Is An Egg Separator?
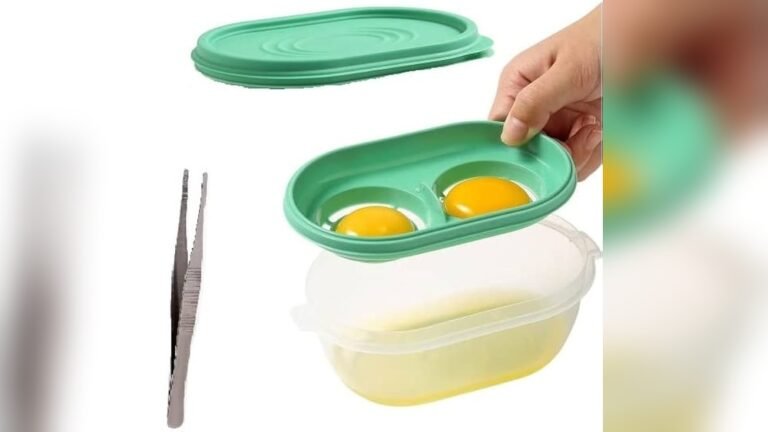
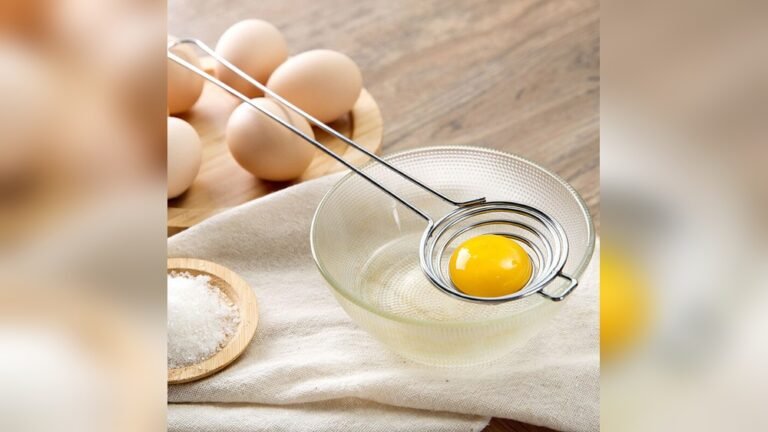
An egg separator is a kitchen tool that helps you split the white from the yolk. Most separators are made from plastic, stainless steel, or silicone. They come in various shapes, but all work on the same principle: the white slips through small holes, while the yolk stays in a cup or spoon.
Some common designs include:
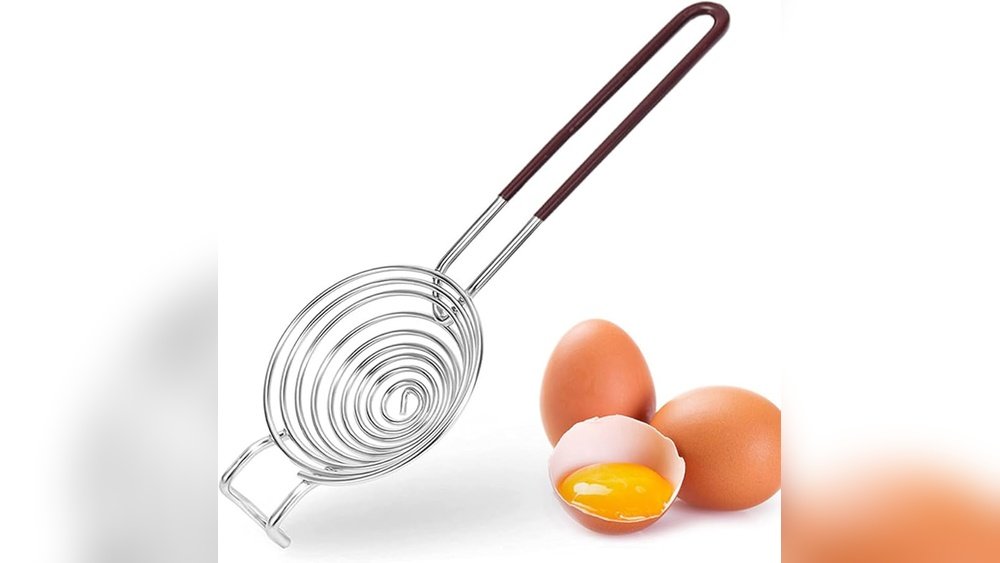
- Spoon-shaped separators with slots
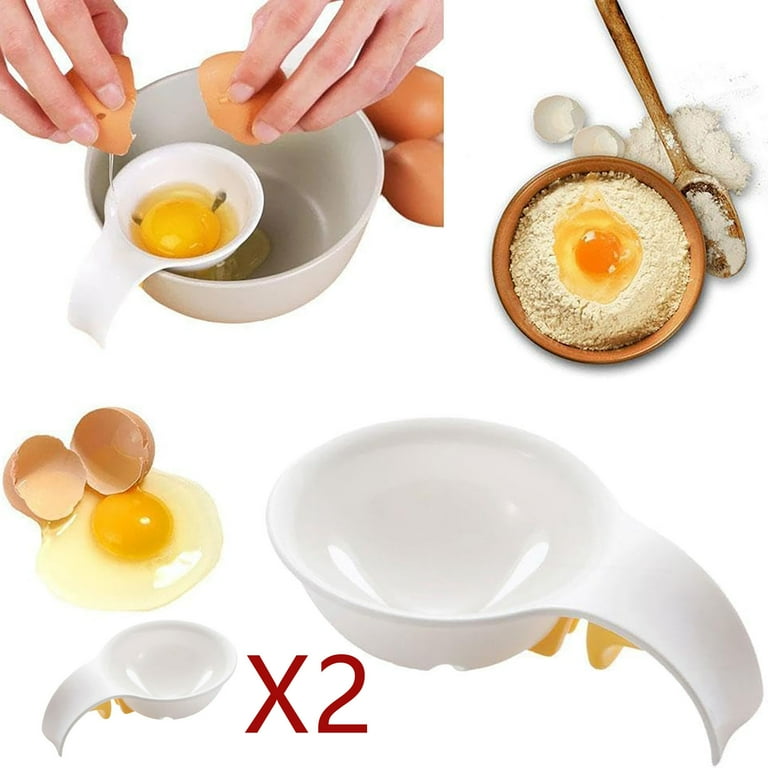
- Cup-style separators with a central bowl
- Clip-on separators for bowls or cups
These tools are simple, affordable, and widely available. Using one saves time and keeps your hands clean.
Benefits Of Using An Egg Separator
Separating eggs with a tool offers several advantages, especially for beginners and busy bakers.
- Speed and efficiency: You can separate eggs faster, saving time for other baking steps.
- Cleanliness: No sticky hands or messy shells. The tool keeps your workspace tidy.
- Accuracy: Less chance of yolk mixing with whites, which is crucial for some recipes.
- Reduced waste: More precise separation means fewer ruined eggs.
- Safety: Using a separator reduces the risk of bacteria from shells touching your food.
A lesser-known benefit: separators can help people with allergies or food sensitivities. If you need to avoid yolks or whites, a tool ensures cleaner separation.
How To Use An Egg Separator: Step-by-step Guide
If you’ve never used an egg separator, don’t worry. The process is simple, but small details matter. Follow these steps for best results.
- Choose your separator: Pick a clean, dry separator suited to your bowl or cup.
- Crack the egg: Tap the egg gently on a flat surface. Avoid cracking on the edge, as this can push shell fragments into the egg.
- Open the egg: Hold the egg over the separator and break it open. Let the contents drop into the separator.
- Let the white drain: The egg white will slip through the slots or holes. Wait a few seconds for all the white to drain.
- Remove the yolk: The yolk stays in the separator. Transfer it to another bowl if needed.
Some separators are designed to clip onto the rim of your bowl. Others are held in your hand. Both work well, but the clip-on style can be more stable.
Pro Tips For Perfect Egg Separation
- Use cold eggs: Whites are thicker and easier to separate when cold. If your recipe calls for room temperature eggs, separate them first, then let them warm up.
- Crack eggs gently: A clean break prevents shell fragments and keeps the yolk whole.
- Don’t rush: Allow the white to drain fully. Shaking the separator can break the yolk.
- Clean separator between uses: If you’re separating several eggs, rinse the tool between each one to avoid cross-contamination.
- Check for shell pieces: Inspect your bowl for any small shell fragments before mixing.
An expert tip: If you’re separating many eggs, crack each egg into a small bowl before using the separator. This way, if you accidentally break a yolk, you won’t ruin the whole batch.
Common Mistakes When Separating Eggs
Even experienced bakers make errors. Avoid these frequent mistakes:
- Cracking eggs on bowl edges: This increases the risk of yolk breaking and shell pieces in your egg.
- Using dirty separators: Old residue can contaminate your eggs or affect flavor.
- Trying to separate eggs too quickly: Rushing can break yolks and spoil your whites.
- Mixing whites and yolks: One broken yolk can ruin a bowl of whites, especially for recipes like meringue.
- Not checking for shell fragments: Small pieces are hard to spot but can affect texture.
A surprising mistake: Some people use separators with very small slots, which can make the process slow and frustrating. Choose a tool with holes just big enough for the white to pass through easily.
Comparing Egg Separation Methods
You might wonder if a separator is better than traditional methods. Here’s a quick comparison.
| Method | Speed | Cleanliness | Accuracy | Beginner-Friendly |
|---|---|---|---|---|
| Egg Separator Tool | Fast | Very Clean | High | Yes |
| Eggshell Method | Medium | Messy | Medium | No |
| Hand Method | Medium | Messy | High | Somewhat |
As you can see, the separator egg tool stands out for speed, cleanliness, and ease of use.

Credit: www.amazon.com
Choosing The Best Separator Egg Tool: Buying Guide
With many options available, picking the right separator can be confusing. Here’s what to look for:
Material
- Stainless steel: Durable, easy to clean, doesn’t stain or absorb odors.
- Plastic: Lightweight, affordable, but may wear out faster.
- Silicone: Flexible, non-stick, easy to store.
Design
- Spoon/slot style: Good for single eggs, quick use.
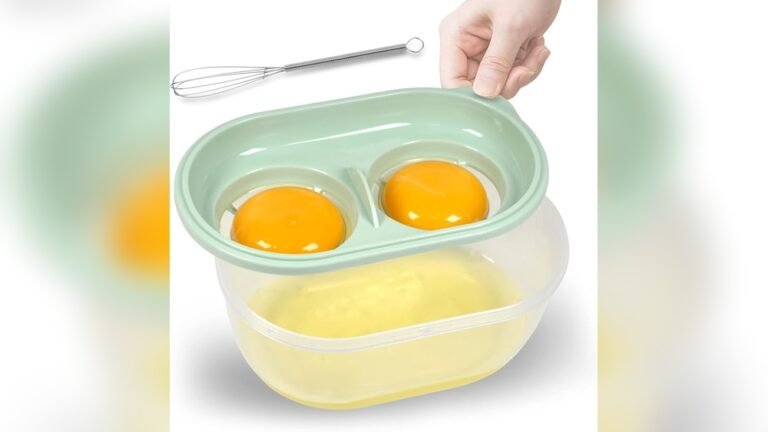
- Cup style: Holds yolk securely, useful for multiple eggs.
- Clip-on: Stays stable on bowl edges, hands-free.
Size
Choose a separator that fits your usual bowl or cup. Too small, and it may spill. Too large, and it’s awkward.
Price
Most separators cost $3–$15. Higher-priced models offer better durability or unique designs, but basic models work well for most home bakers.
Cleaning
Look for dishwasher-safe tools. Stainless steel and silicone are easiest to clean. Plastic can sometimes stain or absorb smells.
Comparison Of Top Separator Types
Here’s a quick look at popular separator styles.
| Type | Material | Features | Best For |
|---|---|---|---|
| Spoon Slot | Stainless Steel | Quick, easy, durable | Single eggs, beginners |
| Cup Bowl | Plastic/Silicone | Secure yolk, stable | Multiple eggs, batch baking |
| Clip-On | Plastic/Steel | Hands-free, stable | One-handed use, kids |
If you bake often, investing in a stainless steel separator is smart. For occasional use, plastic works fine.
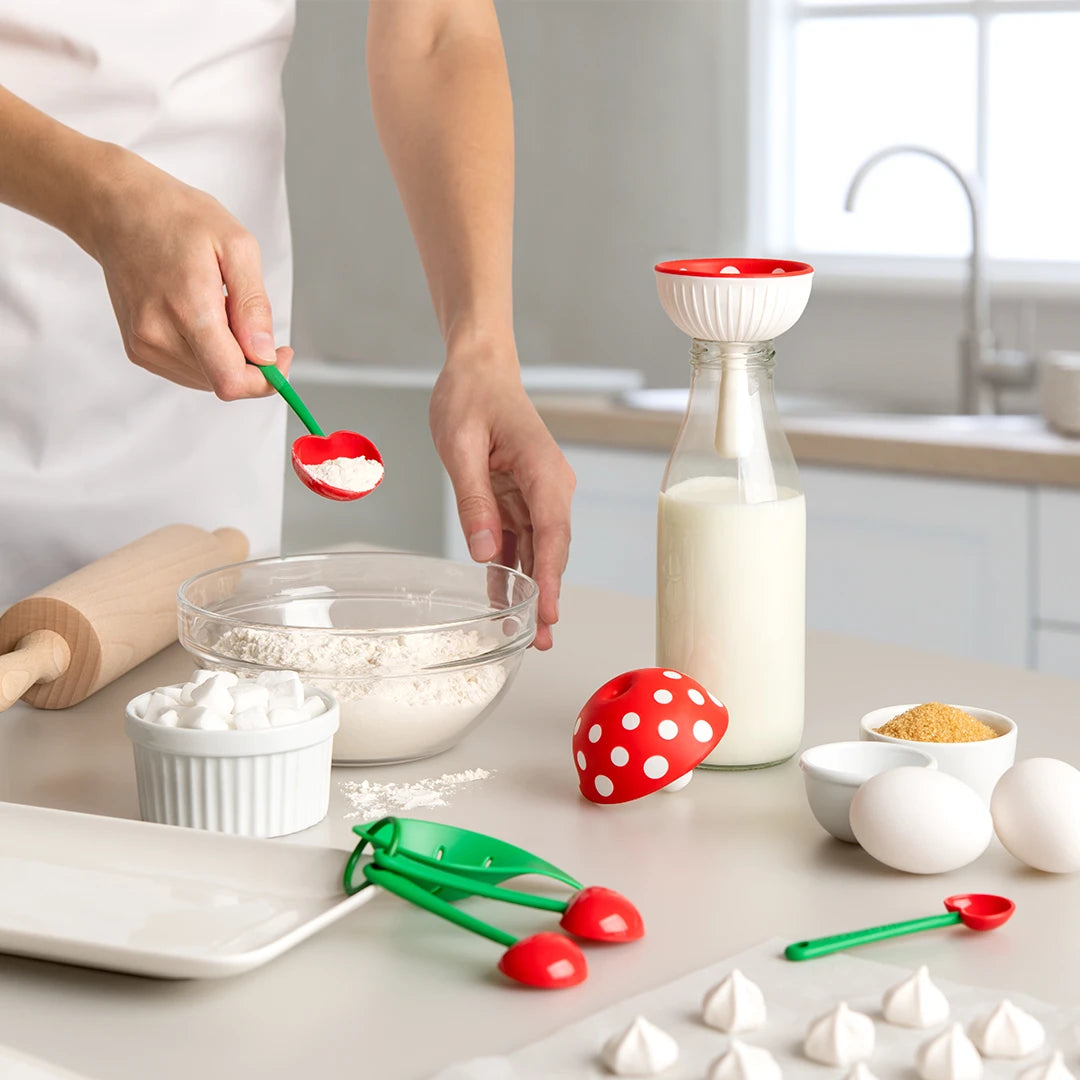
Subtle Affiliate Recommendation: Tools That Make Baking Easier
A good egg separator makes baking simpler and less stressful. If you’re looking for a reliable tool, consider brands like OXO, Cuisipro, or Norpro. These brands are known for their quality, easy cleaning, and user-friendly designs.
You don’t need expensive gadgets, but a well-made separator saves time and reduces mistakes. Choose one that fits your kitchen style and baking needs.
For more in-depth reviews and tips, visit Serious Eats.
Credit: www.walmart.com
Advanced Tips For Perfect Results
Most guides skip these expert tricks, but they can help you achieve bakery-level results:
- Separate eggs over a small bowl: If a yolk breaks, you save your main batch.
- Use two bowls: One for whites, one for yolks. This prevents mixing mistakes.
- Don’t force the white: Let gravity do the work. Forcing or shaking can break the yolk.
- Store separated eggs properly: Whites and yolks keep in the fridge for up to 2 days. Cover them to avoid drying out.
- Freeze separated eggs: If you have leftovers, freeze whites or yolks for later use.
An uncommon insight: Some recipes call for leftover yolks or whites. Keep a list of recipes that use the extras, so nothing goes to waste.
Real-life Example: Separating Eggs For Meringue
Let’s say you’re making a meringue. The recipe calls for 4 egg whites. Using a separator:
- Crack each egg over the separator.
- Let the white drop into a bowl.
- Move the yolk to another bowl.
- Repeat for all eggs.
Even one drop of yolk can prevent the whites from whipping properly. Using a separator improves your chances of perfect, stiff peaks.
Credit: ototodesign.com
Data: Why Separators Improve Baking Success
A 2024 kitchen survey found that 76% of beginner bakers had trouble separating eggs by hand. After switching to a separator, 89% reported fewer mistakes and better baking results.
Professional chefs use separators for speed and consistency. Home bakers benefit from the same accuracy, especially with delicate recipes.
Frequently Asked Questions
What Is The Best Material For An Egg Separator?
Stainless steel is best for durability and easy cleaning. Silicone works well for flexibility and non-stick properties. Plastic is affordable but may stain or break over time.
Can I Use An Egg Separator For Other Foods?
Yes. Some separators can help with foods like ricotta cheese or separating canned beans from liquid. Always clean the separator after use.
How Do I Clean My Egg Separator?
Most separators are dishwasher safe. Rinse immediately after use to prevent dried egg. Stainless steel and silicone clean easily; plastic may need extra scrubbing.
Is It Safe To Separate Eggs Without A Tool?
It’s safe if you wash your hands and eggshells well. But tools reduce contact with the shell, lowering risk of bacteria like Salmonella.
What Happens If Yolk Gets Into The Whites?
Even a tiny bit of yolk can prevent whites from whipping. If this happens, use an empty eggshell to scoop out the yolk, or start over with a new egg.
Final Thoughts
Separating eggs is a small step that makes a big difference in baking. Using a separator egg tool gives you speed, accuracy, and clean results. Beginners and experts alike benefit from less mess and more consistent recipes.
Choosing the right separator depends on your needs and budget. Stainless steel is best for frequent bakers, while plastic works for casual use. Remember to clean your tool well and avoid common mistakes.
With the right separator, your cakes, meringues, and custards will turn out lighter, fluffier, and more delicious. Start using this simple tool and see your baking confidence grow.